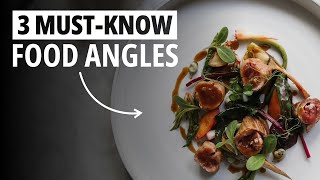
Food photography has become an essential skill for everything from social media influencers to professional chefs and restaurant owners. The way food is presented visually can make all the difference in how it’s perceived and enjoyed. In this article, we’ll explore the three principal angles used in food photography, providing tips and insights to help you capture mouthwatering images every time.
Introduction to Food Photography Angles
In food photography, choosing the right angle is crucial for showcasing your dish in the best possible light. While there are numerous techniques and styles for presenting food visually, the three main angles commonly used are:
- Overhead Shot (Bird’s Eye View)
- Diner’s Perspective (3/4 Angle)
- Table Level (Side Angle)
Each angle offers a distinct way to capture the essence of food and conveys different emotions and perspectives to the viewer. In this article, we’ll break down these angles, how to use them effectively, and why they’re so important in creating compelling food images.
1. Overhead Shot: The Bird’s Eye View
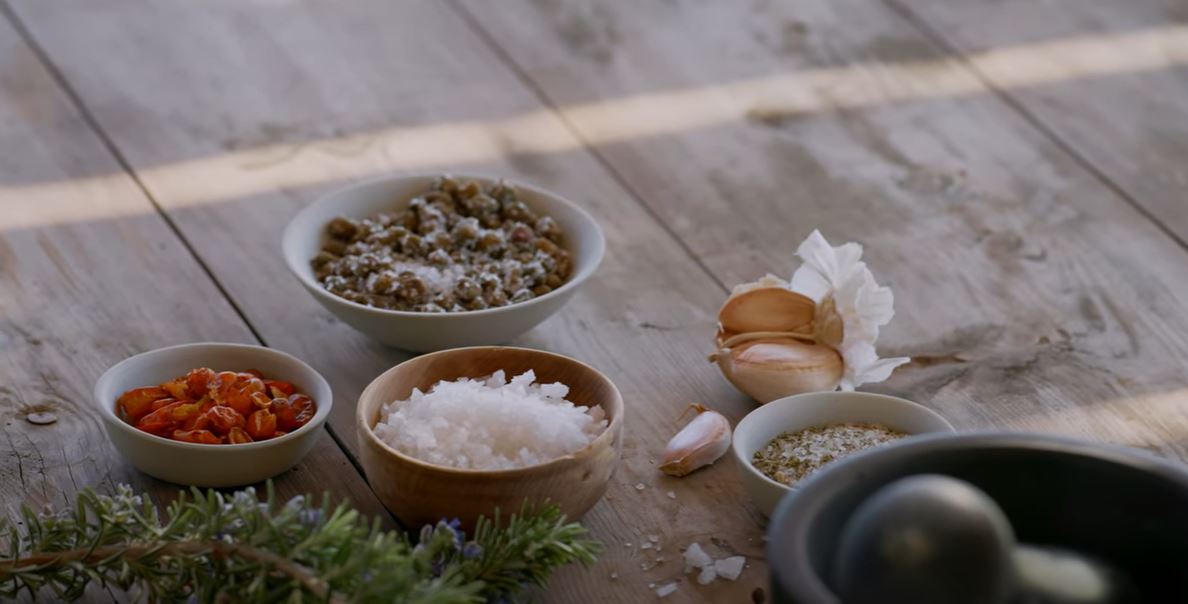
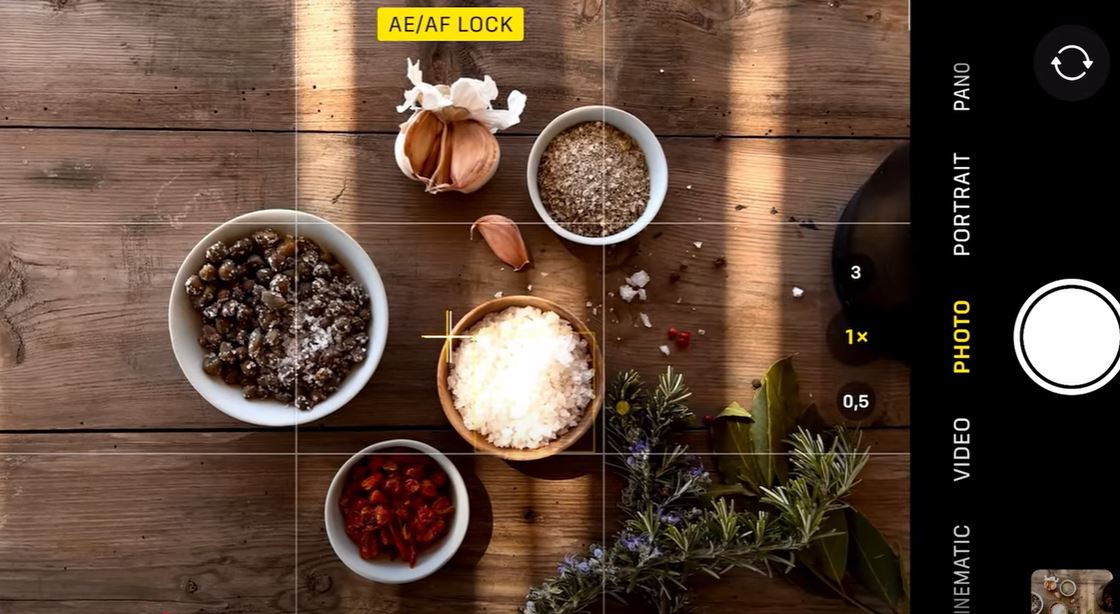
The overhead shot, also known as the bird’s eye view, is perhaps the most popular and versatile angle in food photography. This angle is achieved by placing the camera directly above the food, creating a top-down view of the scene.

Why It’s Popular
Overhead shots are particularly effective when you want to highlight the flatness of the food or display multiple items at once. This angle offers a clear view of all the elements in a dish, such as salads, pizzas, or a spread of small appetizers. By capturing the entire scene from above, you can emphasize textures, colors, and shapes, creating a visually engaging composition.
Tips for Capturing the Perfect Overhead Shot:
- Use Negative Space: Arrange your food in a way that leaves some space around it. This helps avoid a cluttered image and enhances the composition.
- Experiment with Light and Shadows: Natural light streaming from above can create interesting shadows and light artifacts that add depth and complexity to your image.
- Focus on Symmetry: When photographing a dish like a pizza or a bowl of soup, ensure the elements are symmetrically arranged. Align the lines of your table or surface to guide the viewer’s eye through the frame.
Example Scenario: Imagine photographing a Mediterranean spread featuring olives, herbs, and small bowls of dips. An overhead shot allows you to frame all the ingredients in a visually balanced manner, using the negative space between items to create a clean, organized composition.
2. Diner’s Perspective: The 3/4 Angle
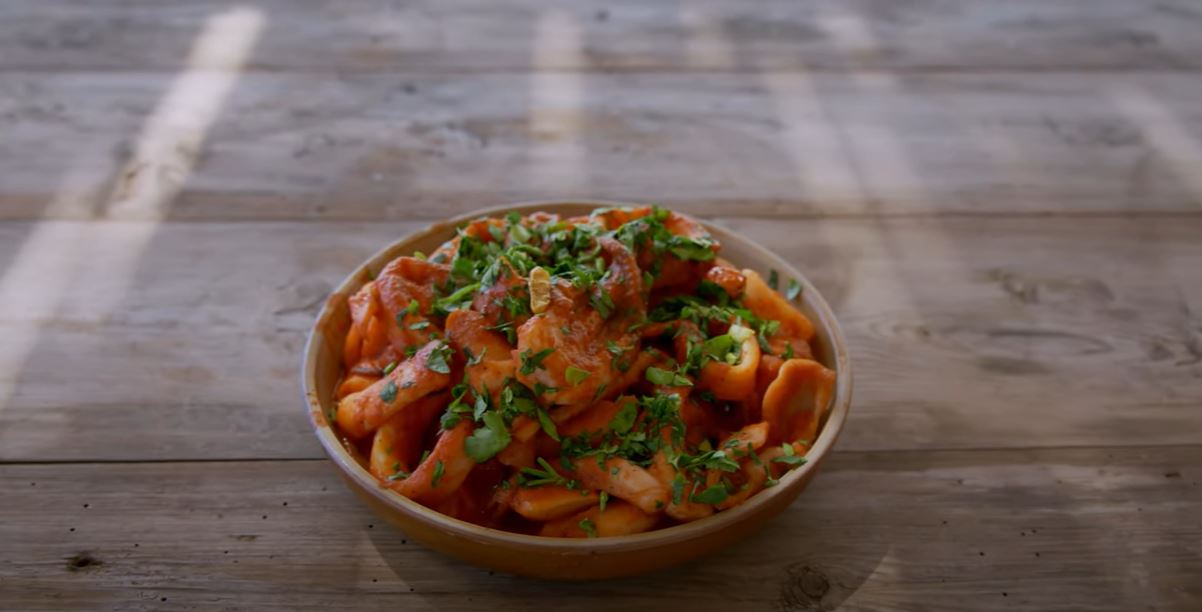
The diner’s perspective, also known as the 3/4 angle, mimics the way a person would view their meal when sitting at a table. This angle is slightly angled from above and to the side, allowing the food to appear more three-dimensional.
Why It Works
This angle is incredibly effective for creating a sense of intimacy and relatability. By photographing food from the perspective of someone about to eat, you invite the viewer into the experience, making them feel like they’re about to dive in. This angle works particularly well for food that has height or layers, such as burgers, pasta dishes, and cakes.
Tips for the Perfect Diner’s Perspective Shot:
- Focus on Depth: Use the 3/4 angle to emphasize the layers or texture of the food. The angle allows the viewer to see both the top and side of the dish.
- Moisture and Freshness: Before taking the shot, enhance the food’s appearance by moistening it slightly or adding a fresh garnish to make it look more appealing. This can involve drizzling sauce, adding herbs, or using a spritz of water.
- Be Mindful of Plate and Background: The diner’s perspective often includes the plate and part of the table or setting. Make sure that these elements are clean and aesthetically pleasing, as they become an integral part of the image.
Example Scenario: Photographing a plate of calamari from the diner’s perspective allows you to capture the crispy texture of the seafood, the vibrant greens of parsley, and any sauce or garnish in a natural and appetizing way. The angle makes the food appear inviting, drawing the viewer in as though they’re about to take a bite.
3. Table Level: The Side Angle
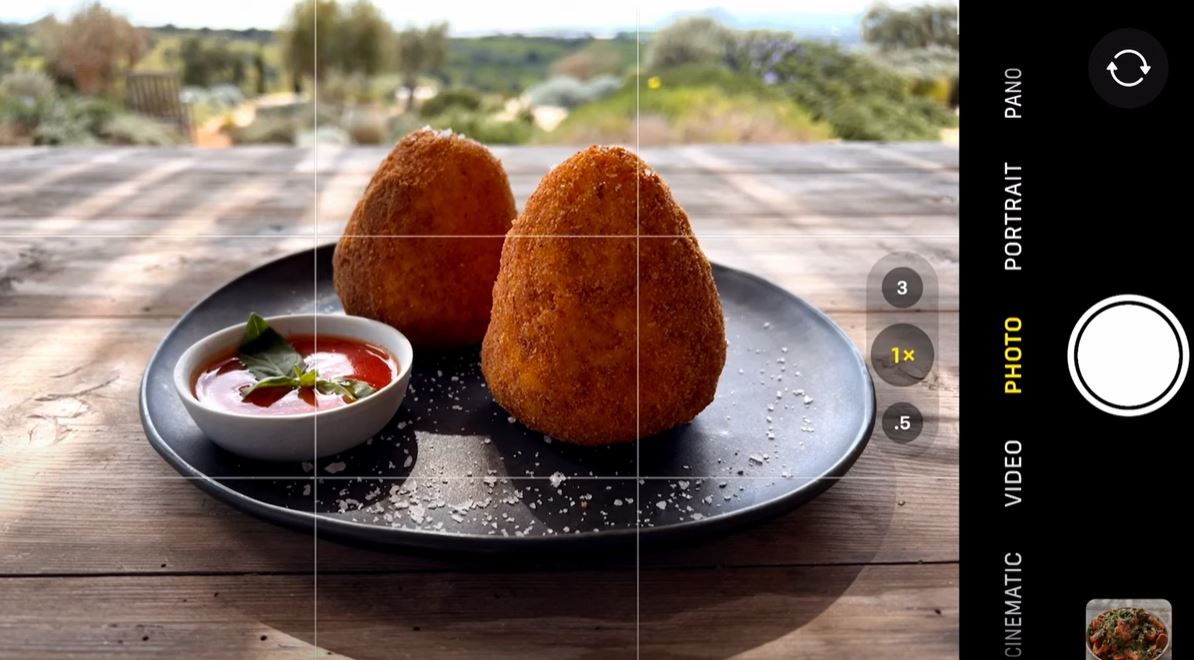
The table level shot involves placing the camera at the same height as the table, looking directly at the food. This unique angle captures the food in its natural environment, often incorporating the background, which can add an emotional or contextual element to the image.
Why It’s Special
This angle is particularly meaningful for photographers who want to convey a personal connection to the food. It can evoke nostalgia, like a child looking up at their grandmother’s dish, or create a connection with the environment around the food, such as a beautiful outdoor setting.
Tips for the Perfect Table Level Shot:
- Include the Background: When shooting at table level, the background can often become a key element in the composition. If you’re photographing food outdoors, you might want to capture the landscape, such as a seaside view or a garden backdrop.
- Use Light Creatively: Position your camera so that it captures natural light from the side, which can cast soft shadows and create a more dramatic effect on the food.
- Keep the Food Fresh: Just like with the diner’s perspective, make sure to add finishing touches like fresh herbs or a sprinkle of salt to enhance the visual appeal.
Example Scenario: Imagine photographing a Sicilian dish like arancini (fried rice balls) outdoors with the ocean in the background. A table level shot will allow you to capture the food’s texture, while also incorporating the lush green grass and sparkling blue sea, creating a vibrant, emotional connection to the dish.
Conclusion: Bringing It All Together
Food photography is an art that involves more than just snapping pictures of your meal. The angle you choose plays a crucial role in how the food is perceived and can evoke different emotions in your viewers. By mastering the three principal angles—overhead shot, diner’s perspective, and table level—you’ll be able to showcase food in a way that’s both visually stunning and deeply engaging.
Final Tips:
- Experiment with Angles: Try combining different angles in your food photography to create dynamic compositions.
- Lighting is Key: Always pay attention to the natural light and how it interacts with your subject.
- Tell a Story: Whether it’s through garnishing, plating, or the environment around the food, aim to tell a story that draws your viewer into the moment.
If you’re looking to take your food photography to the next level, practicing these angles and understanding their impact on your images will undoubtedly improve your skills. Keep experimenting, and soon, you’ll be capturing photos that make your viewers’ mouths water.
