Nighttime photography with your iPhone presents a unique set of challenges, primarily due to the device’s reliance on adequate light to capture sharp and clear photos. But don’t worry! With the right techniques, tools, and settings, you can still capture stunning, high-quality photos in low-light environments. In this guide, we’ll walk you through how to use your iPhone’s features effectively, avoid common pitfalls like camera shake, and take full advantage of Night Mode for the best low-light photography results. Whether you’re capturing cityscapes under streetlights or snapping photos indoors with minimal lighting, these tips will help you get the most out of your iPhone’s camera.
1. Understanding the Challenges of Low-Light Photography on iPhone
Low-light photography requires more light, and your iPhone’s camera, particularly when using lenses other than the main camera, struggles to gather enough light in dim environments. Unlike in bright daylight, your iPhone must use longer exposure times, leading to potential issues like blurry images caused by slight camera shake. However, understanding how to stabilize your iPhone and use the right settings can significantly improve your results.
2. The Importance of Stability: Reducing Camera Shake
In low-light conditions, even small movements during the shot can cause blurry images, as the iPhone takes longer to capture more light. Here’s how to prevent this:
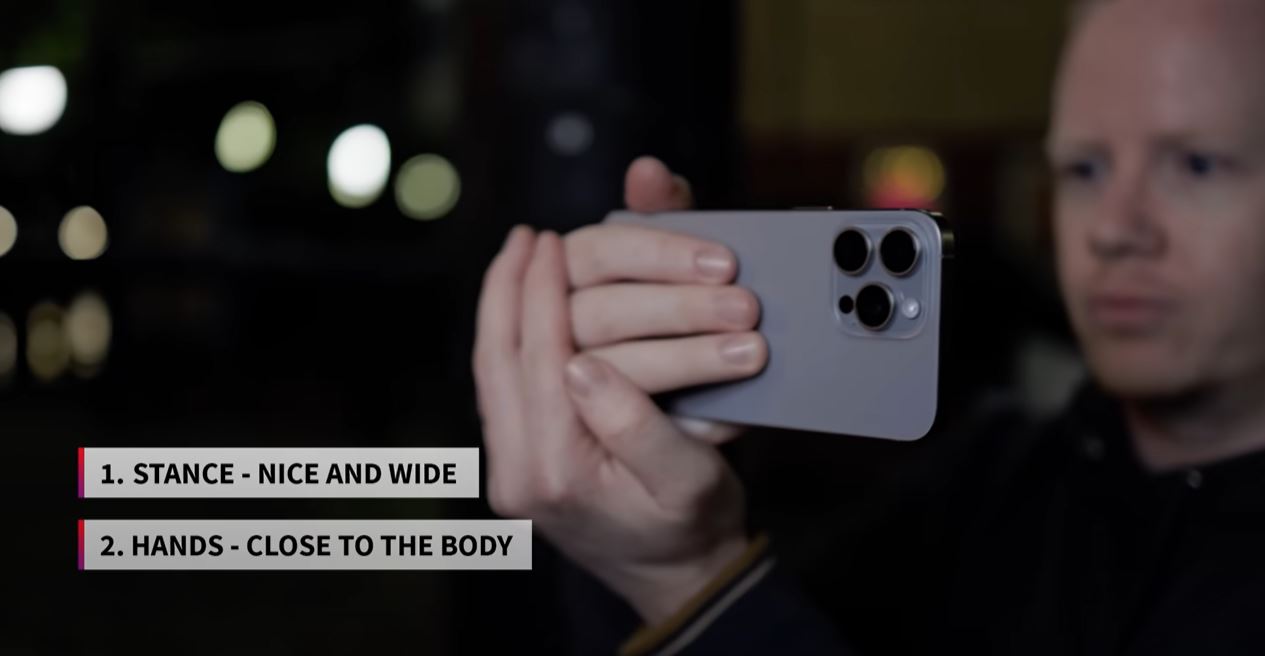
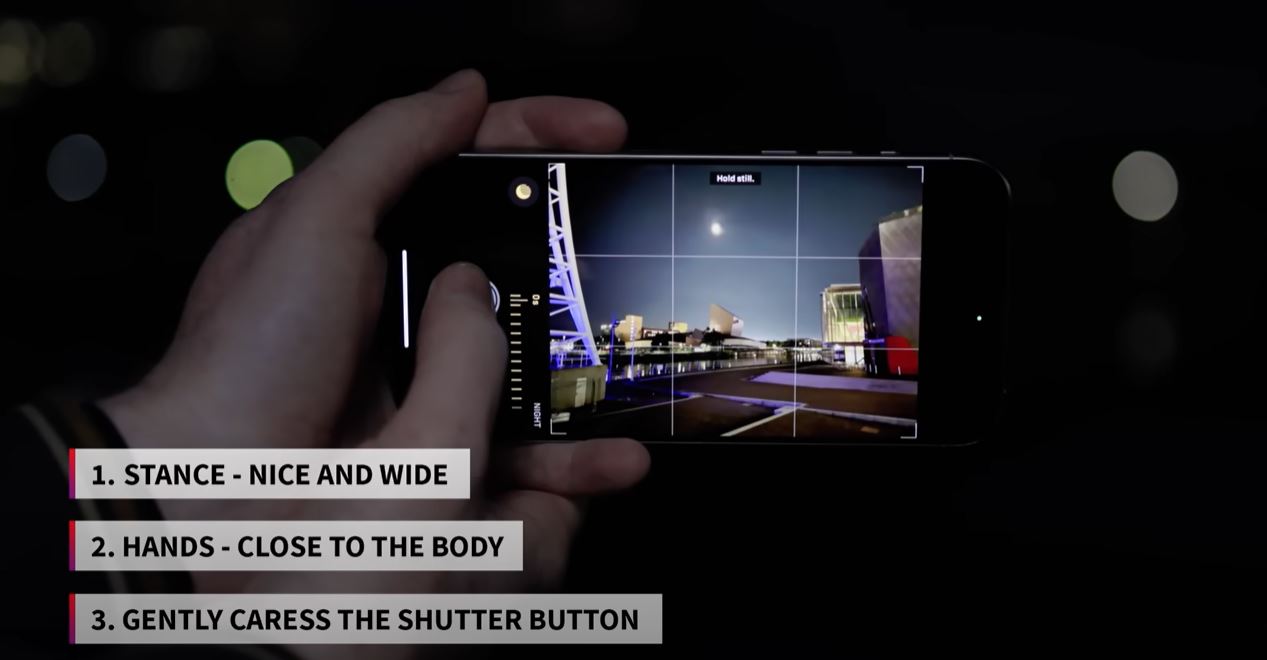
- Use Two Hands: Hold your iPhone with both hands, keeping your stance wide and bringing your elbows close to your body for added stability.
- Take Multiple Shots: Capture several photos instead of just one to increase the chances of a sharp image.
- Rest Against a Solid Surface: If you don’t have a tripod handy, leaning against a solid surface can reduce shake.
- Use a Tripod: Tripods designed for iPhones are widely available and significantly reduce movement. Pairing a tripod with a 3-second timer ensures you get a steady, sharp photo without interference from touch.
3. Leveraging Night Mode for Low-Light Shots
Night Mode is the iPhone’s secret weapon for capturing detailed images in low-light conditions. It brightens your photos by adjusting the exposure time and processing light effectively. Night Mode automatically activates when your phone detects the lighting is low, but you can also manually adjust it.
- When Night Mode Kicks In: The Moon icon appears when your iPhone suggests Night Mode. In auto mode, it decides the optimal exposure time based on the lighting conditions.
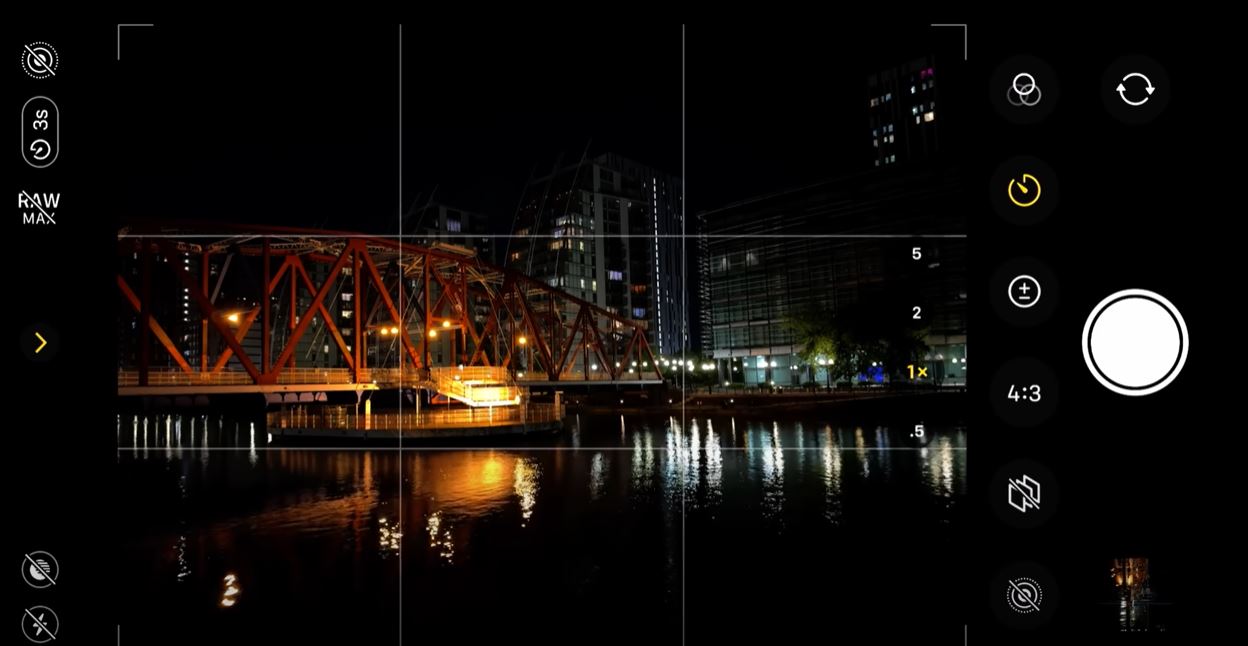
- Manual Adjustment: For more control, tap the Night Mode icon and adjust the exposure time, with up to 30 seconds of exposure possible, depending on the model and camera being used.
4. The Main Camera vs. Other Lenses
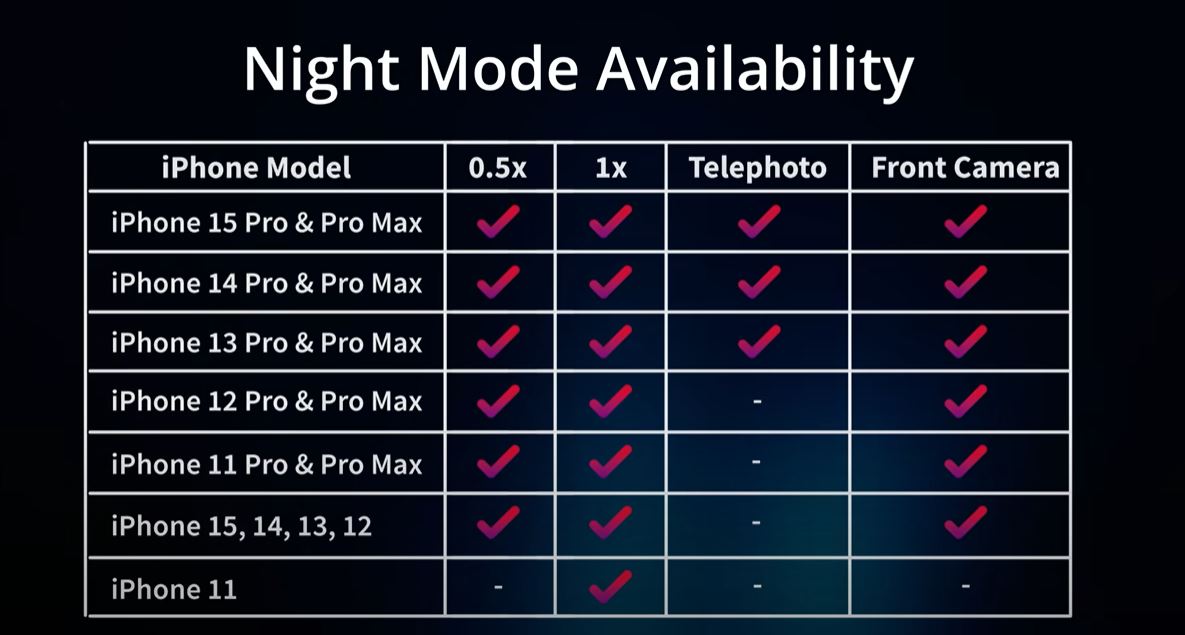
Your iPhone’s main camera (1x lens) is the most powerful option in low light because it lets in more light compared to the ultra-wide or telephoto lenses. When shooting in low-light conditions, stick to the main camera for the clearest, sharpest images.
- Telephoto Lens: While convenient for zooming in, the telephoto lens struggles in low light and often requires much longer exposure times, which can introduce blur if you’re not using a tripod.
- Ultra-Wide Lens: The ultra-wide lens can also be handy for creative shots, but it performs worse in low-light conditions due to its smaller aperture.
5. The Magic of ProRAW for Superior Detail
When it comes to capturing the finest details in low light, Apple’s ProRAW format is indispensable. ProRAW allows your iPhone to capture more data and store richer information in the image, making it easier to edit and fine-tune your photos later. When paired with Night Mode, ProRAW ensures that the final result is as clean and detailed as possible, with minimal noise or blurring.
- ProRAW + Night Mode: This combination lets you capture a photo that retains incredible detail, even in challenging lighting conditions. Though ProRAW files are larger, they provide superior flexibility in post-editing, especially for exposure adjustments and color corrections.
6. Choosing the Right Exposure Time in Night Mode
The exposure time varies based on the light conditions and camera used. For example, the main camera can shoot with a 2-second exposure in Night Mode, while the telephoto lens might require up to 25 seconds. The longer the exposure, the more light your iPhone gathers, but this also increases the chances of shake, so stability is crucial.
- Experimenting with Exposure: As light levels decrease, try adjusting the exposure time to see what gives you the best balance between brightness and detail. Sometimes, extending the exposure time leads to more vibrant, detailed images, while too long of an exposure may result in unnecessary noise or blur.
7. How to Achieve the Best Results Using a Tripod
To capture longer exposure times (up to 30 seconds) without worrying about shake, use a tripod. With a tripod, you can set your iPhone to take extended exposures that will capture even more detail and brightness.
- Setting Up a Timer: When using a tripod, activate the 3-second timer to minimize movement when you press the shutter button. This small action significantly contributes to a sharp and clean image.
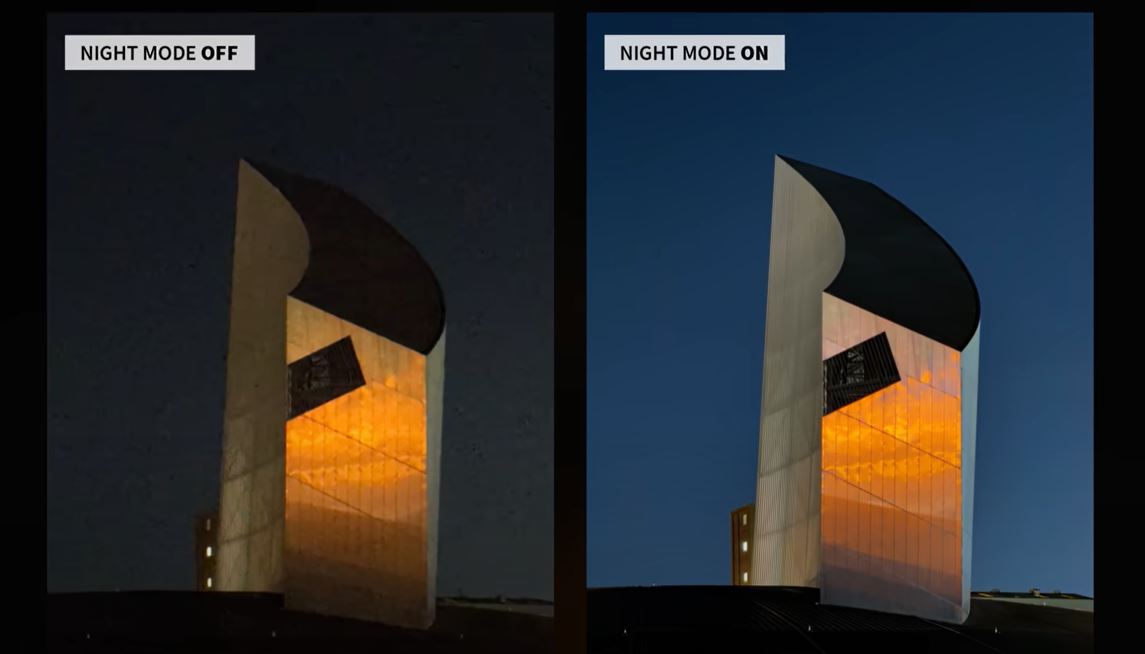
8. Image Comparison: Night Mode vs. No Night Mode
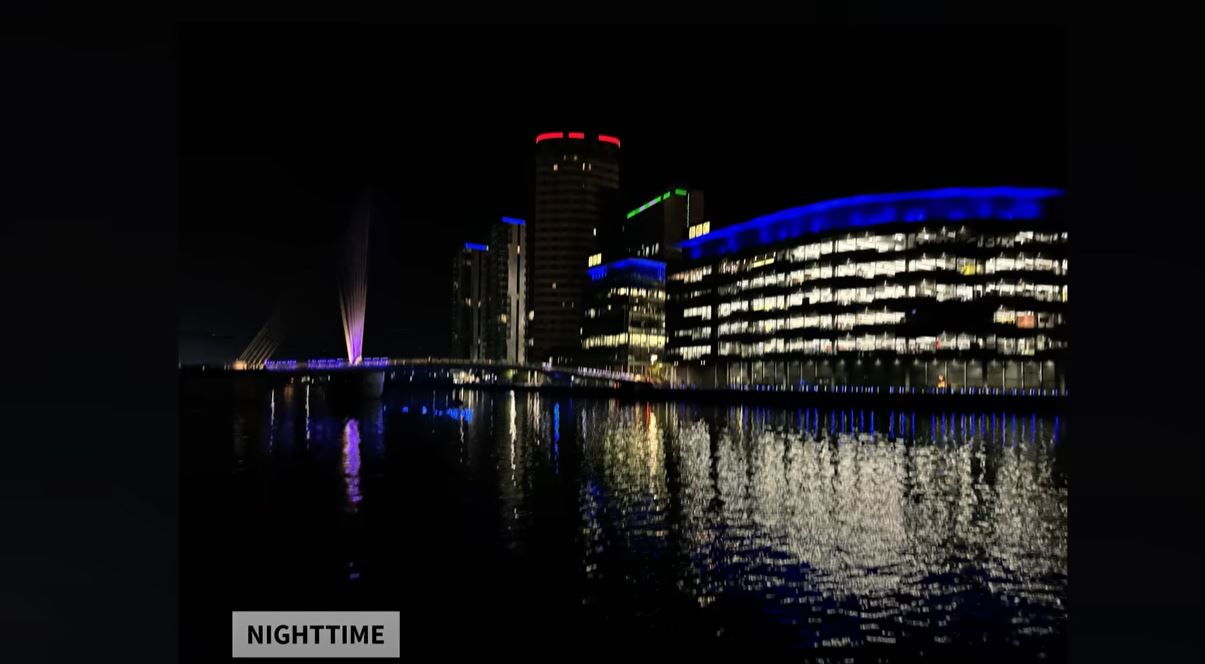
A side-by-side comparison of images taken with and without Night Mode reveals a stark difference in quality. Without Night Mode, photos can appear dark, noisy, and lacking in detail. With Night Mode enabled, you’ll notice a clear improvement in brightness, detail, and color balance.
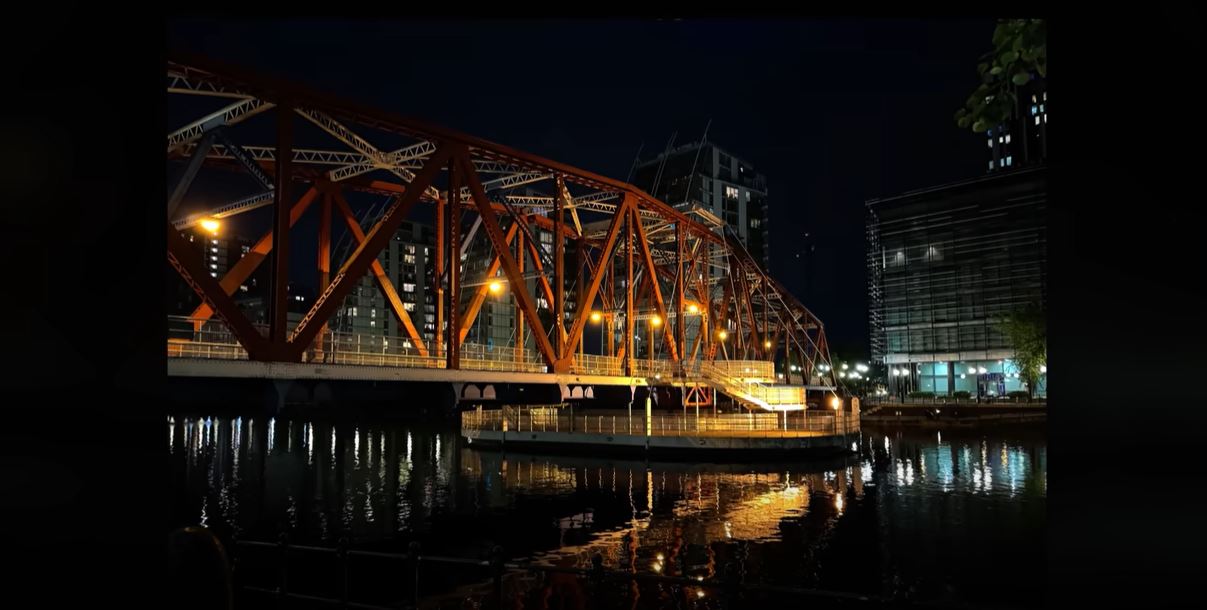
- Night Mode Enhancements: Night Mode brightens the image and helps bring out fine details that might otherwise be lost, especially in shadows or darker parts of the frame.
9. Tips for Capturing Nighttime Landscapes and Cityscapes
For stunning nighttime landscape or cityscape photos, you’ll need to capture as much light as possible, especially with architectural or street light details.
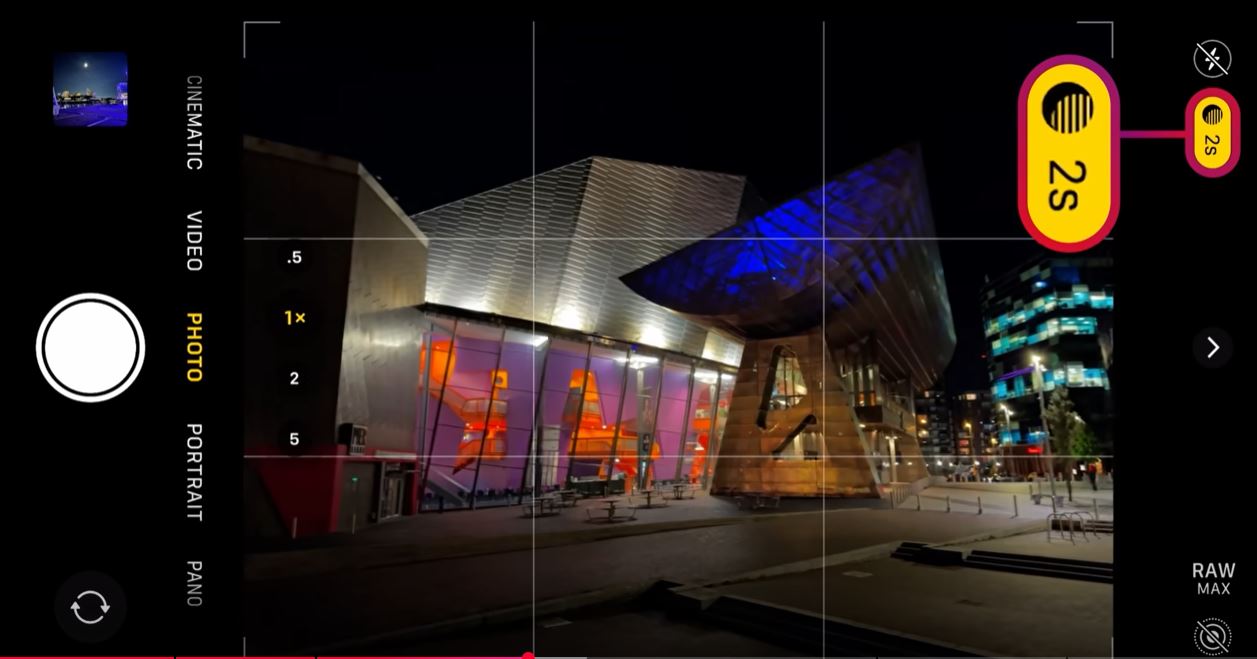
- Consider Composition: Look for interesting lighting sources, like street lamps or illuminated buildings, to create dynamic contrast in your shot.
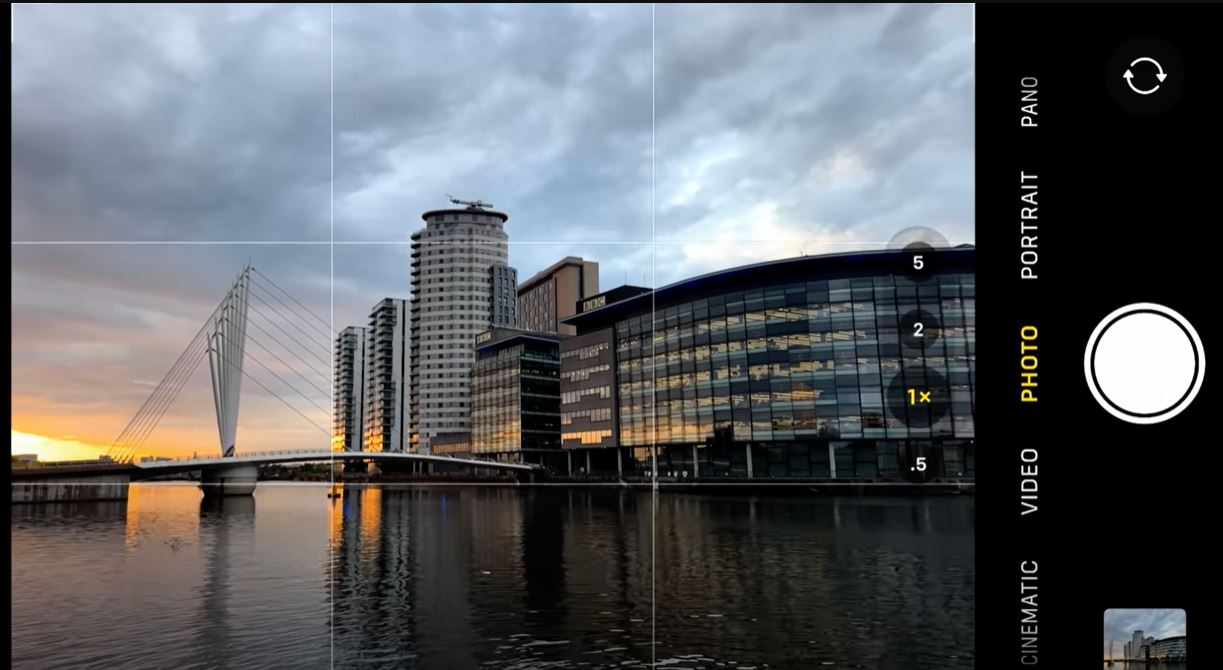
- Use the Grid: Enable the grid feature in your iPhone’s camera settings to ensure your photos are well-composed, with a strong sense of symmetry or leading lines.
Conclusion:
With a few simple techniques and knowledge of your iPhone’s settings, nighttime photography can be an enjoyable and rewarding experience. Whether you’re capturing scenic vistas or urban environments, following the tips above will help you get the sharpest, most detailed photos possible, even in low light. Experiment with Night Mode, ProRAW, and tripod setups to push your iPhone’s camera capabilities to their limits and capture the magic of the night in stunning detail.
