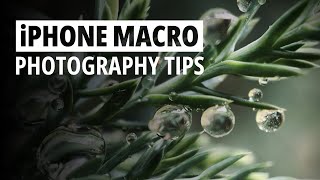
Macro photography is an exciting and creative way to capture the tiny, often overlooked details of the world around you. With the incredible advancements in iPhone camera technology, it’s easier than ever to take stunning macro shots that reveal the beauty in the smallest objects. In this comprehensive guide, we’ll explore how you can master iPhone macro photography to create unique and mesmerizing images, from understanding the basics to using advanced techniques with lenses and apps.
Uncovering the Magic of Macro Photography
Macro photography allows you to capture subjects up close, revealing intricate details, textures, and colors that are often invisible to the naked eye. Whether you’re photographing flowers, insects, or everyday objects, macro shots allow you to see the world from a fresh perspective. But what if you could achieve this kind of photography with just your iPhone?
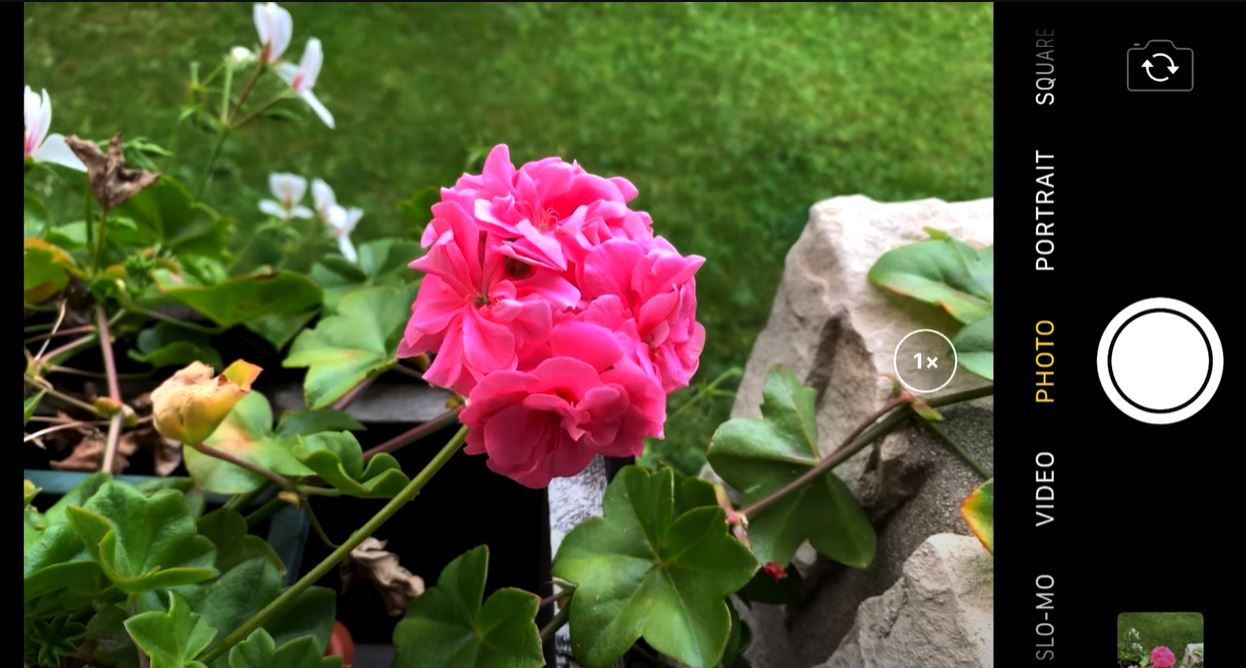
In this guide, we will dive deep into iPhone macro photography, focusing on:
- The basics of macro photography on iPhone.
- How to use the built-in iPhone camera features for macro shots.
- Enhancing your macro photography with accessories and third-party apps.
- Tips and tricks to get the most out of your macro shots.
What is Macro Photography?
Macro photography is the art of photographing small subjects at a very close distance, often at a 1:1 ratio, meaning the subject is the same size or larger on the camera’s sensor as it appears in real life. This type of photography highlights details such as textures, patterns, and the fine details of objects, which are usually invisible or unnoticed in everyday life.

Key Characteristics of Macro Photography:
- Close-up focus: Capturing subjects from a very short distance.
- High magnification: The subject appears large and detailed.
- Increased depth of field: To highlight the subject’s intricate features.
- Textural details: Macro photos often reveal the minute textures and patterns that are missed in normal photography.
Getting Started with iPhone Macro Photography
1. Using the Built-In Camera for Macro Shots
The first step to creating stunning macro photography with your iPhone is to get familiar with your camera’s built-in features. While iPhones aren’t specifically designed for macro photography, they offer several tools and settings that can help you achieve impressive results.
A. Getting Close and Finding the Focus
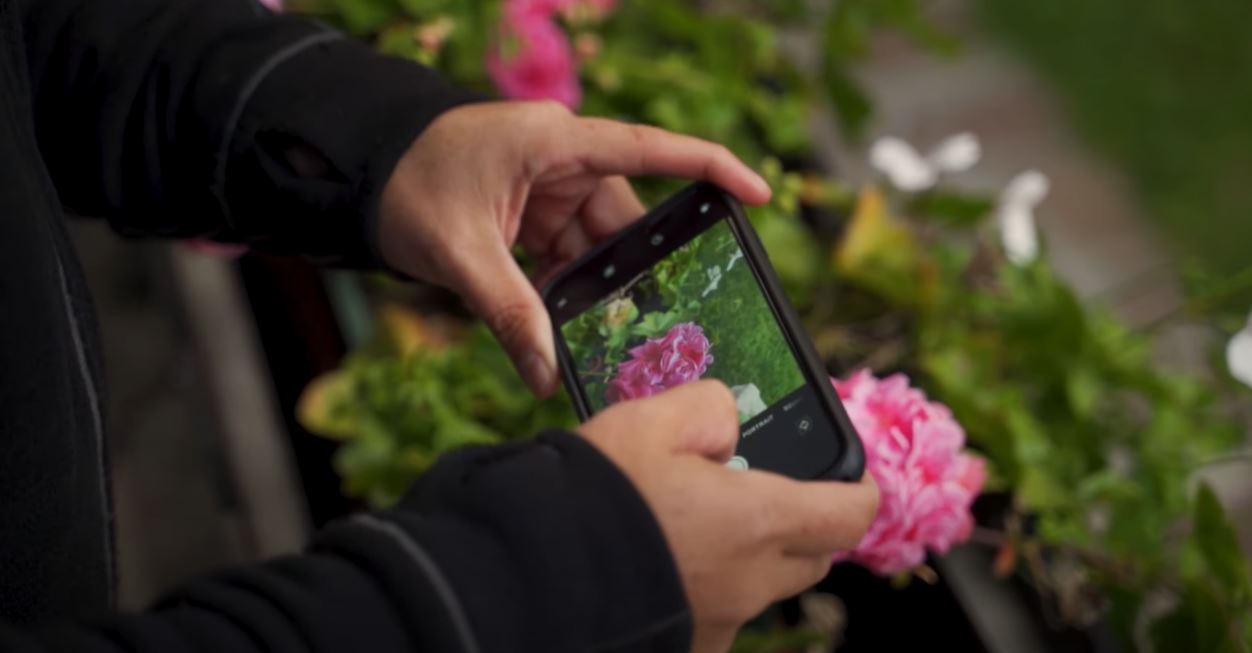
The iPhone’s camera allows you to focus on subjects at varying distances, but there’s a limit to how close you can get before the lens can’t focus. Here’s what you need to know:
- Minimum focus distance: Every lens has a minimum focus distance, which is the closest you can get before the camera can’t focus anymore. iPhones will continuously adjust focus until it hits this limit.
- Zooming in: Use the zoom function (tap 2x) to get closer to your subject. This works well for close-ups, but for macro shots, you’ll still need to back off a little until the subject comes into focus.
B. Focusing on Specific Details
Instead of taking an image of the whole flower or object, zoom in and focus on a single detail that catches your eye. This could be the texture of a petal, the veins in a leaf, or even the fine hairs on a small insect. These small details often tell the story of the object in a much more intimate way.
C. Using Portrait Mode for Depth and Focus
For added depth, use your iPhone’s Portrait mode. This feature is designed to mimic the effect of a DSLR, with a blurred background (bokeh) that makes the subject stand out. This works best when you have a little distance between the subject and the background.
2. Accessorizing for Advanced Macro Shots
While the built-in iPhone camera can do a lot, macro photography often requires getting extremely close to the subject—sometimes beyond the reach of the native lens. In these cases, third-party accessories like macro lenses can greatly enhance your ability to capture small details.
A. Using a Macro Lens Attachment
To take true macro shots, consider investing in a macro lens attachment for your iPhone. These lenses are available from companies like Moment, Olloclip, and others. Here’s how they work:
- Moment Macro Lens: These lenses screw directly onto your iPhone and allow you to get much closer than the standard camera. They provide excellent magnification and sharpness.
- Lens Setup: Make sure you have the correct lens case for your iPhone model, as the lenses require specific mounts to fit securely.
B. How to Use a Macro Lens with Your iPhone
Once you have the lens attached, open the camera app (or a third-party app like Lightroom). You’ll notice that the camera now allows for a closer focus, and you can capture fine textures and details that were previously out of reach. Some tips for using these lenses:
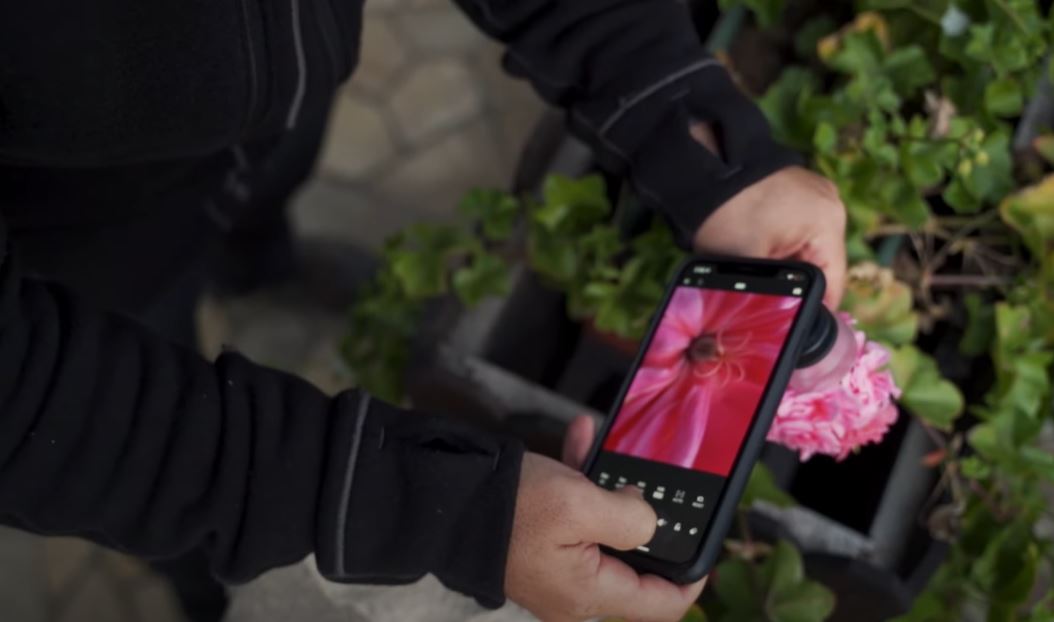
- Manual Focus: Macro lenses require precision. Even the smallest movement can shift the focus. Hold your phone steady or use a tripod to minimize shaking.
- Lighting: Proper lighting is essential in macro photography. Ensure your subject is well-lit, either with natural light or by using external lights.
3. Using Third-Party Apps for Macro Photography
The iPhone’s native camera app has limitations when it comes to macro photography, particularly when using third-party lenses. To get the best results, you can use apps that give you more control over settings like focus, exposure, and white balance.
A. Lightroom Mobile
One of the best apps for macro photography is Lightroom Mobile. This app allows you to shoot in RAW format and use manual settings. It also gives you more control over the lens choice, ensuring you stay in telephoto mode when using an external macro lens.
- Telephoto Mode: In Lightroom, you can lock the camera in telephoto mode to use your macro lens effectively.
- Manual Focus: You can manually adjust the focus to get sharp, close-up details.
- RAW Format: Shooting in RAW allows you to retain more detail and gives you more flexibility in post-processing.
B. Other Useful Apps
- Halide: Halide offers manual focus control and a focus peaking feature, making it easier to focus on tiny details in macro shots.
- Camera+ 2: This app lets you adjust the focus manually and includes a macro mode for better detail capture.
4. Tips and Techniques for Stunning Macro Shots
A. Steady Your Shot
When you’re photographing subjects up close, any slight movement can throw off the focus. To get sharp macro shots:
- Use a tripod or a stand to hold your iPhone steady.
- If you don’t have a tripod, prop your phone up against a stable surface and focus carefully.
B. Experiment with Lighting
Lighting plays a huge role in macro photography. Here are a few ways to light your macro subjects:
- Natural light: Soft, diffused sunlight works best. Avoid harsh shadows and direct sunlight that can wash out details.
- Artificial light: Consider using LED light panels or a ring light to evenly illuminate your subject.

C. Get Creative with Depth and Composition
Macro photography is all about capturing textures and fine details, but composition still matters. Here are some composition tips:
- Fill the frame: Focus on just one detail and let it fill the entire frame.
- Use patterns: Look for repeating patterns or textures, such as veins in a leaf or the fibers in a flower petal.
- Focus on the unusual: Macro photography is all about finding beauty in the unexpected. Experiment with subjects that aren’t traditionally photographed up close.
D. Post-Processing
Once you’ve captured your macro shot, it’s time to enhance it with some post-processing:
- Adjust exposure and contrast to make the details pop.
- Enhance colors to make the textures more vibrant.
- Crop and straighten to perfect the composition.
Conclusion:
Macro photography on your iPhone offers an exciting opportunity to explore the world in minute detail. Whether you’re photographing a flower, a bug, or any small object, the iPhone’s advanced camera system and third-party accessories make it possible to capture beautiful, intricate shots.
By following these tips and using the right accessories and apps, you’ll be able to take your macro photography to the next level. So next time you walk past a flower, a bug, or even a piece of fruit—stop and take a closer look. The world of macro photography is waiting to be explored right in front of you
