The iPhone 15 Pro has revolutionized the world of mobile video production, making it easier than ever to shoot professional-quality footage on a device that fits in your pocket. With its advanced camera system, Apple ProRes Log support, and new tools for editing, the iPhone 15 Pro offers a unique opportunity for content creators to capture cinematic videos without expensive gear.
In this guide, we’ll cover the essential techniques, settings, and tools to help you create stunning cinematic videos with your iPhone 15 Pro. Whether you’re shooting a short film or capturing everyday moments, these tips will take your footage to the next level.
1. Setting Up Your iPhone 15 Pro for Cinematic Shots
Before you start filming, it’s crucial to ensure that your iPhone 15 Pro is properly configured for optimal video quality. Here’s how to set up the phone for the best cinematic results:
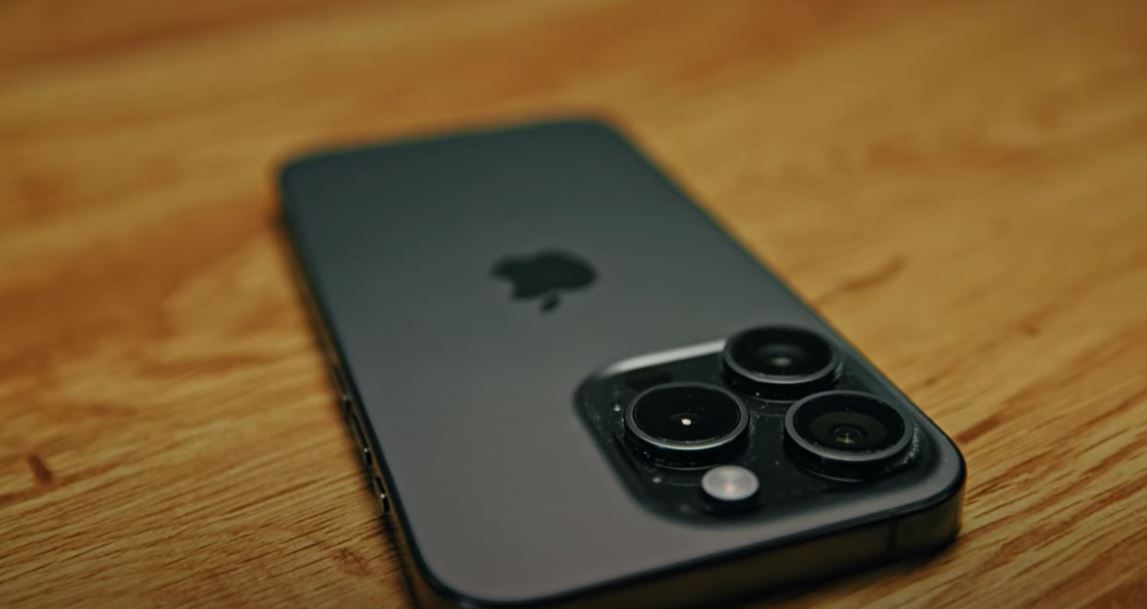
Adjusting Camera Settings
The iPhone 15 Pro introduces several features for professional videography, including Apple ProRes Log, which provides you with more control over color grading and post-production. Here’s how to set it up:
- Open the Camera App: Tap the settings icon on the bottom-right corner to access the recording settings.
- Choose Apple ProRes Log: ProRes Log captures more data in the highlights, shadows, and midtones, giving you more flexibility in editing.
- Set Resolution to 4K: For high-quality video, choose 4K resolution.
- Frame Rate Selection: If you plan on slowing down your footage, select 60 frames per second (fps). For standard video, 24 fps is the most common choice.
Using Apple ProRes Log for Better Editing Flexibility
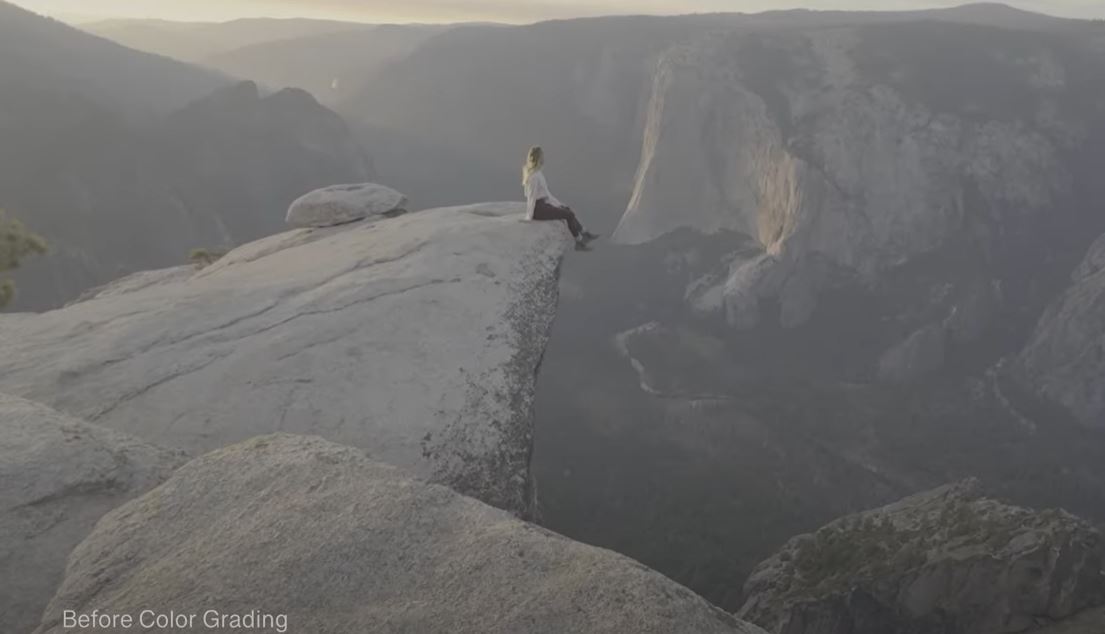
When you shoot in ProRes Log, the footage will look desaturated or “flat” directly out of the camera. While this may seem odd at first, it is essential for preserving the data needed for color grading. In post-production, you can bring out the full color and contrast of your footage.
2. Choosing the Right Camera App: Blackmagic vs. Native Camera App
While the native iPhone Camera app is great for most users, professional videographers often prefer more advanced options like the Blackmagic Cam App. This app offers additional features and flexibility for pro filmmakers. Here’s a breakdown:
Pros of the Blackmagic Camera App
- ProRes Recording: Unlike the native Camera app, the Blackmagic Cam App allows you to record directly to your phone’s internal storage without requiring an external SSD for large 4K files.
- More Control Over Settings: The app provides manual control over settings like ISO, shutter speed, and white balance, giving you more flexibility to craft cinematic shots.
Native Camera App vs. Blackmagic Cam App
- If you plan on shooting in 4K at 60fps, you’ll need an external SSD when using the native Camera app. The Blackmagic app bypasses this need.
- The Blackmagic Cam App also lets you adjust the recording format, making it ideal for pro workflows.
3. Techniques for Cinematic Camera Movement
To make your videos feel more immersive and cinematic, it’s essential to focus on camera movement and composition. Here are some tips for achieving fluid, dynamic shots:
Framing Your Shots
- Use the Rule of Thirds: Divide your frame into a 3×3 grid and position important elements along the lines or at the intersections. This ensures a balanced composition and enhances visual interest.
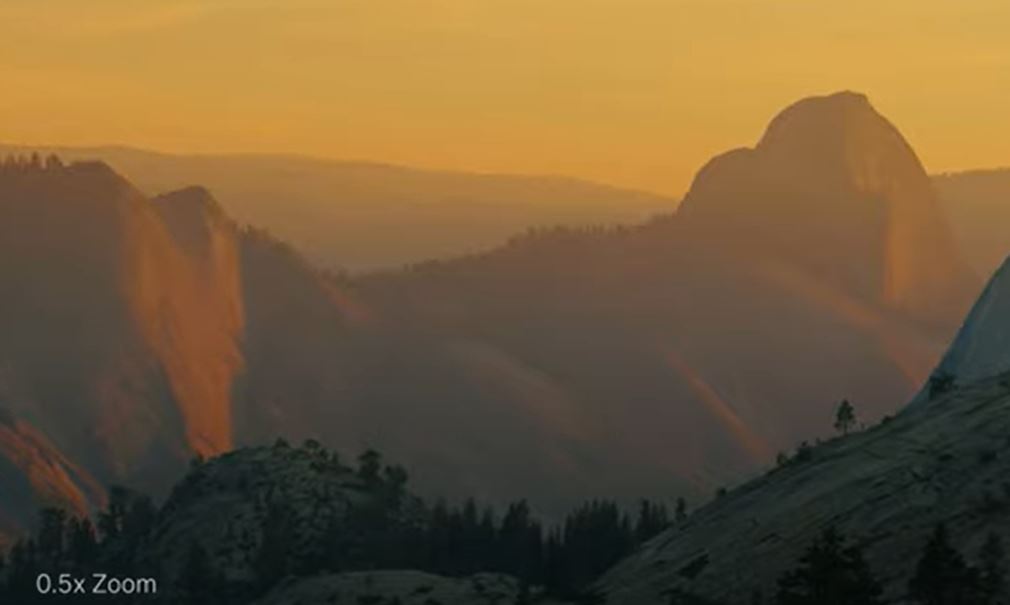
- Foreground Elements: Incorporating foreground elements can add depth to your shots. For example, you can pan the camera across the landscape while keeping a tree or other object in the foreground to guide the viewer’s eye toward the subject.
Using Movement to Enhance the Story
- Panning: Slow pans from left to right or up and down can help establish context, like showing the vastness of a mountain range or tracking a subject across a scene.
- Tracking Shots: If you’re filming a subject on the move, try to keep them centered in the frame while smoothly tracking their motion. This creates a sense of continuity.
For example, when filming the majestic El Capitan in Yosemite National Park, capturing movement by driving past the mountain while keeping it in focus created a dynamic shot that emphasized the mountain’s scale.
4. Editing Your Footage for a Cinematic Look
Once your footage is shot, it’s time to turn the raw clips into a polished cinematic piece. This involves color grading and editing the footage to create the desired mood and style.
Working with Log Footage
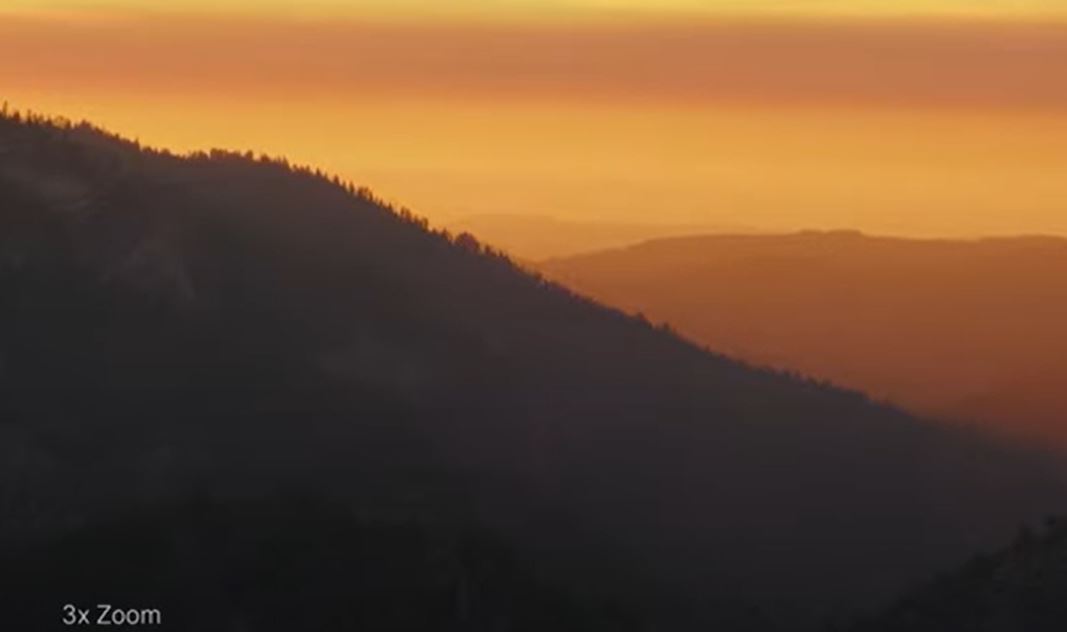
As mentioned earlier, ProRes Log footage will look flat and desaturated at first. To make it more vibrant, you’ll need to adjust the colors and exposure.
- Use a LUT (Look-Up Table): A LUT is a preset that adjusts the color profile of your footage. Applying a cinematic LUT in editing software like DaVinci Resolve or Adobe Premiere Pro can instantly give your footage a rich, polished look.
- Manual Color Grading: If you prefer more control, you can manually adjust the shadows, midtones, and highlights to bring out the full range of colors.
Color Grading with LUTs
In DaVinci Resolve, you can use built-in LUTs to transform your footage from flat to cinematic. Once applied, you can further tweak the color, contrast, and saturation to achieve the perfect look.
5. Essential Accessories for Cinematic Videos
While the iPhone 15 Pro is powerful on its own, using accessories like polarizers and ND filters can elevate the quality of your shots even further. Here’s why:
Polarizers
Polarizers help reduce glare, particularly in outdoor environments. They can also enhance the colors in the sky or water by reducing reflections, making the shot look more vibrant and cinematic.
ND Filters
A Variable Neutral Density (ND) filter is used to control the amount of light entering the lens. It’s especially useful in bright conditions, where it helps you achieve a lower shutter speed without overexposing the image. This is essential for achieving that smooth, cinematic motion blur.
Brands like PolarPro offer excellent accessories that are designed specifically for the iPhone, ensuring better control over light and reflections.
6. Conclusion: Bringing It All Together
Shooting cinematic videos with your iPhone 15 Pro is not only possible but can yield incredible results. By following the steps in this guide—setting your camera up for high-quality recording, using effective framing and camera movements, and applying professional editing techniques—you can create content that rivals traditional filmmaking equipment.
Remember, the most important thing is to practice and experiment with different techniques. Cinematic videography is all about storytelling, and with the iPhone 15 Pro in your hands, you have the power to tell compelling visual stories no matter where you are.
