Portrait photography on your iPhone can produce stunning, pro-level results when approached with the right techniques. If you’re looking to improve your iPhone portrait shots, you’ve come to the right place. In this article, we’ll delve into the must-know tips and hacks that will elevate your portrait photography game. From optimizing lighting to selecting the perfect lens and utilizing advanced features like Portrait Mode, we’ve got everything covered. By the end of this guide, you’ll have a better understanding of how to shoot, edit, and enhance your portraits to create photos that stand out.
Importance of Lighting in Portrait Photography
When it comes to portrait photography, lighting is everything. Regardless of which iPhone model you own, good lighting can make or break your photo. For the best results, always aim to shoot in soft, shaded light, as it creates a flattering, natural effect on your subject’s face. Harsh, direct sunlight can cause squinting and create unflattering shadows on your subject, which we want to avoid.
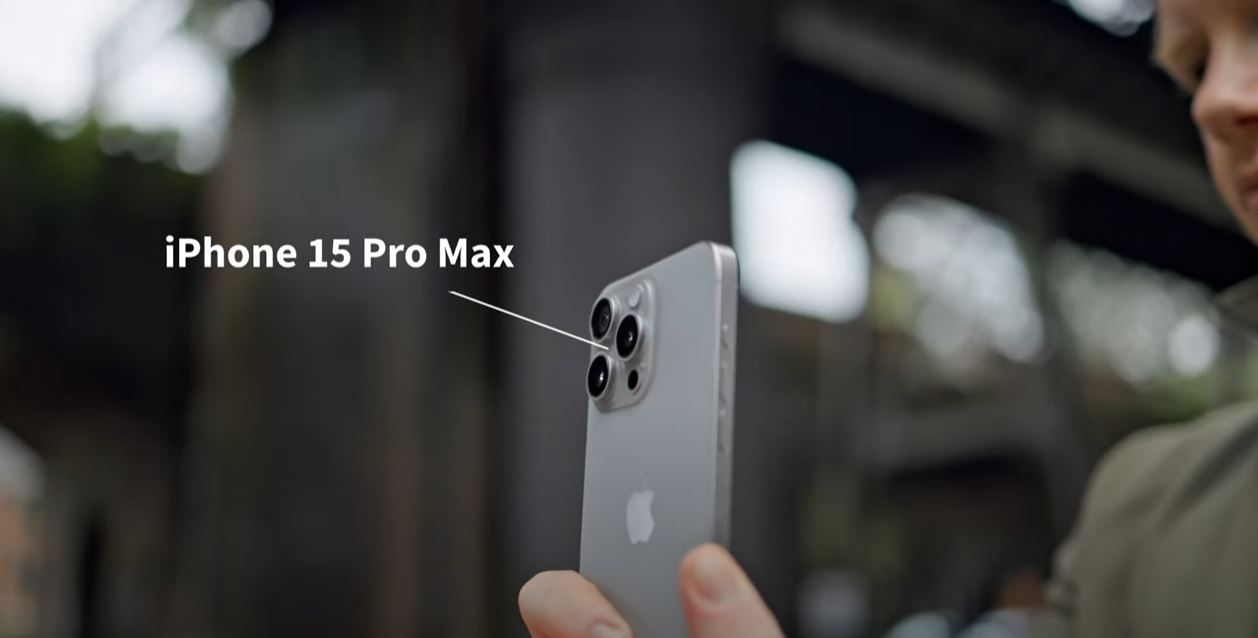
Tip #1: Find Soft, Shaded Light
To achieve flattering portraits, it’s crucial to avoid direct sunlight, especially around midday when the sun is at its peak. Instead, seek out soft shaded areas like under trees, buildings, or any location with diffused light. This lighting will smooth out the skin tones and soften any harsh shadows, resulting in a more natural and pleasant look.
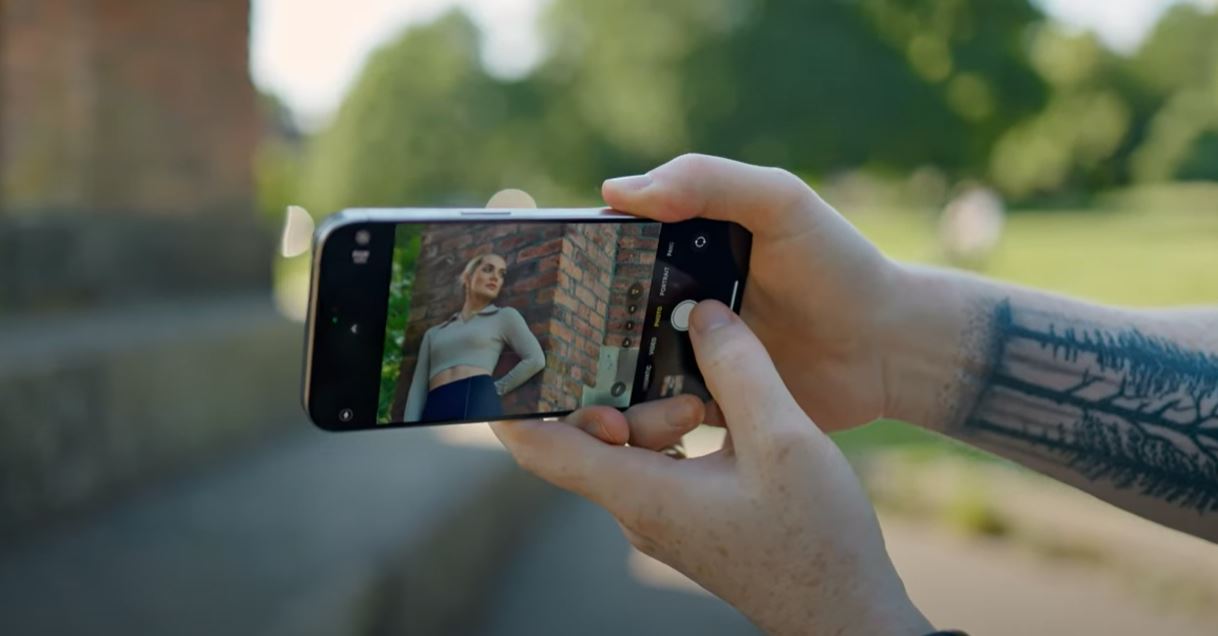
Tip #2: Use Reflectors to Bounce Light
If the shaded area still leaves shadows on your subject’s face, a simple trick is to use a reflector to bounce light back onto them. This can be done with a handheld reflector or even a white piece of paper. Reflecting light onto your subject will help eliminate any overly dark areas while maintaining the soft lighting effect.
Choosing the Right Lens for Portrait Photography
One of the best features of modern iPhones is the variety of lenses available for different shooting scenarios. When it comes to portrait photography, you’ll want to avoid using wide lenses like the main or ultra-wide lens, as they can distort features at closer distances.
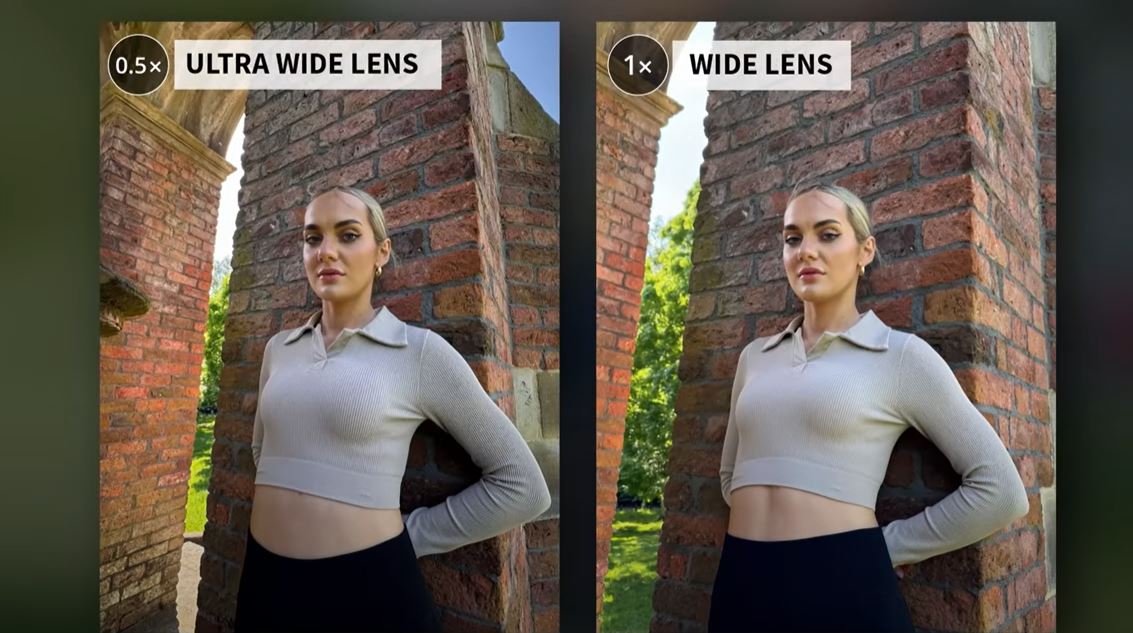
Tip #3: Use Telephoto Lenses for Natural Portraits
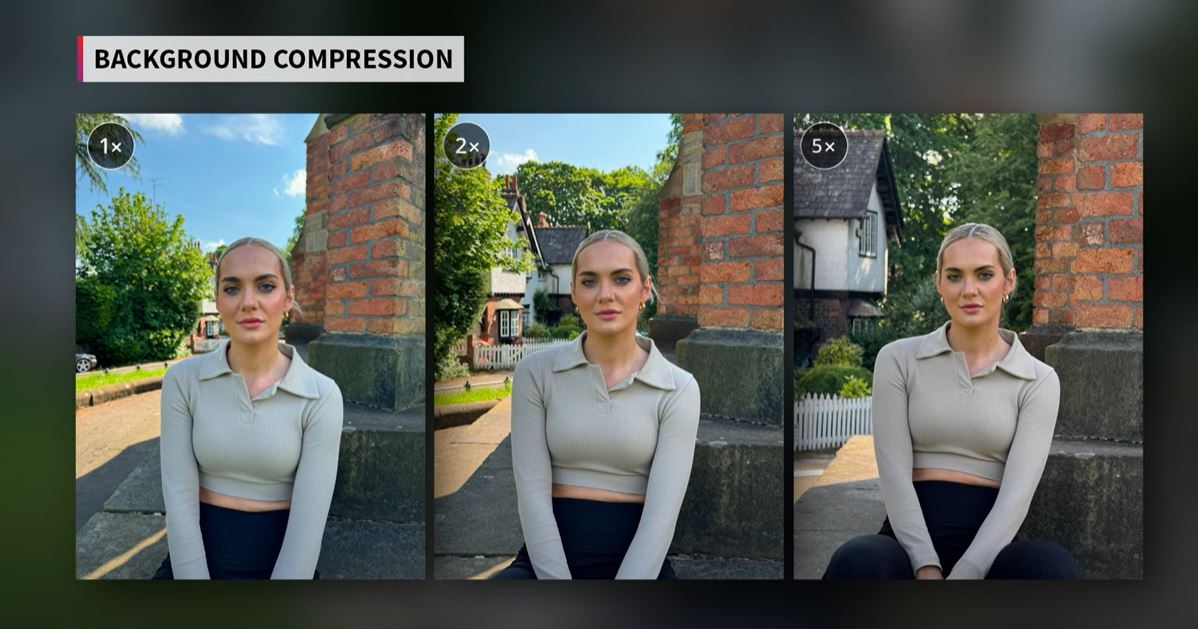
For a more natural look, opt for the telephoto lens. The 2x and 3x telephoto lenses are perfect for capturing portraits as they let you take a step back while still maintaining a proper focal length. These lenses help avoid the distortion that occurs when you get too close with a wide lens. If you have a telephoto lens with a 5x zoom, that’s even better for professional-level portraits with stunning background compression.
Tip #4: Leverage the Five-Time Telephoto Lens
If your iPhone supports it, the 5x telephoto lens is a fantastic option for shooting portraits. This lens offers excellent image quality and produces beautiful background compression, which makes the subject stand out while blurring the background in a visually appealing way. The effect of background compression is subtle but powerful—it makes the background appear closer and less distracting, enhancing the overall composition.
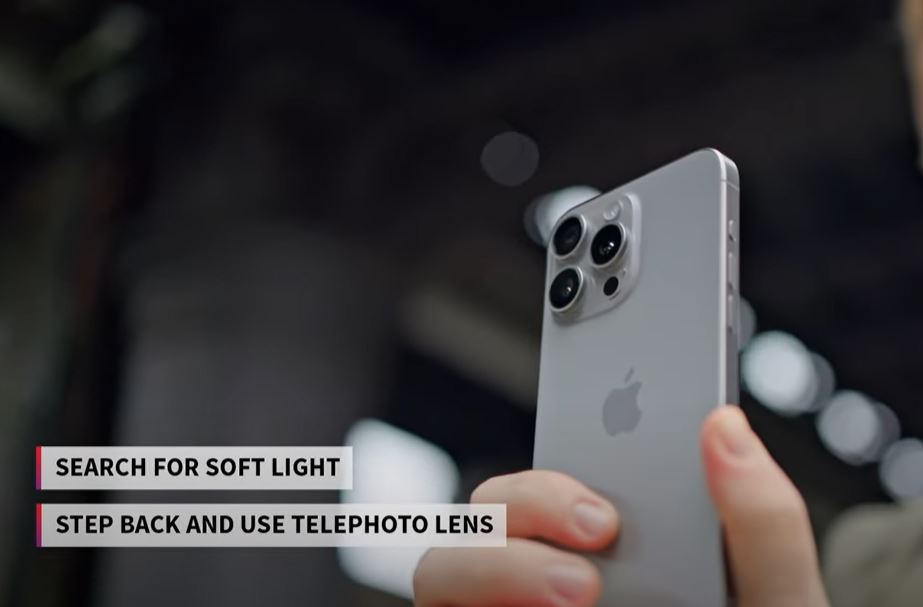
Utilizing Portrait Mode for Professional Results
Portrait Mode is one of the most powerful features for portrait photography on your iPhone. When enabled, it applies a blur effect to the background, mimicking the shallow depth of field you get with high-end cameras. The key to mastering Portrait Mode lies in selecting the right lens and understanding how to adjust the blur effect for the most natural and flattering results.
Tip #5: Activate Portrait Mode
To use Portrait Mode, open the Camera app, tap on the word “Portrait” at the bottom of the screen, and wait for the iPhone to detect your subject. The yellow reticle will appear around the person’s face to confirm that the camera is focusing on the subject. From here, you can choose the lens you want to use and adjust the blur effect.
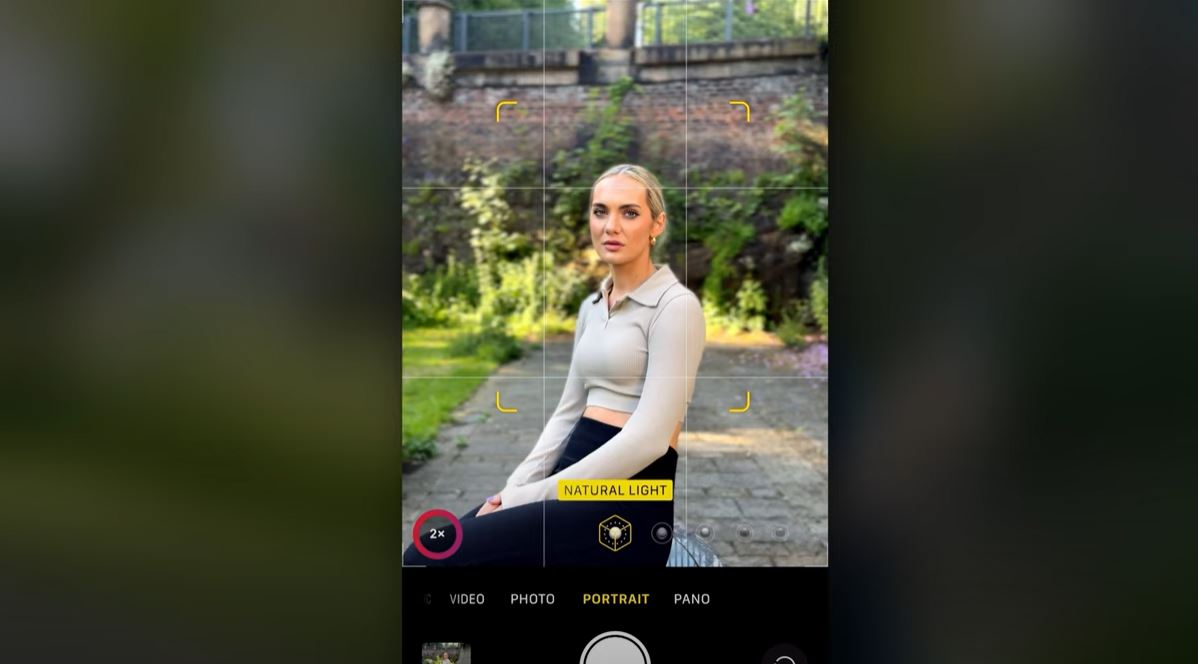
- Wide Lens: Avoid using the wide lens in Portrait Mode, as it applies an unnatural blur and distorts proportions.
- Telephoto Lenses: Both the 2x and 5x telephoto lenses will give you the most natural and realistic portrait photos.
Tip #6: Adjust the Depth of Field
The depth of field is an important factor in Portrait Mode. If you feel that the default blur is too much or not enough, you can adjust it. Tap the “f” icon in the top right corner to open the Depth menu. Here, you can swipe left to increase the blur or right to decrease it. Fine-tuning the blur ensures that your portraits look more natural, without the overly artificial look some Portrait Mode settings can produce.
Editing iPhone Portraits: Fine-Tuning the Details
Editing plays a vital role in perfecting your iPhone portraits. While Portrait Mode gives you a great starting point, small tweaks can make your photo truly shine.
Tip #7: Refocus and Adjust Depth After Capturing the Shot
One of the best features of iPhone’s Portrait Mode is the ability to edit the depth of field after the photo is taken. If you want to change the focus or adjust the blur, simply tap on the photo in your Camera Roll, and then tap “Edit.” You can adjust the focus and blur using the depth slider to get the desired effect.
Tip #8: Use Filters and Presets for Quick Editing
For faster results, try using the iPhone’s built-in filters or external apps like Lightroom Mobile. Lightroom offers several portrait-specific presets, such as “Modern Chic,” which can add a professional touch to your images with just one tap.
Tip #9: Experiment with Lighting Effects in Portrait Mode
While Portrait Mode comes with default lighting effects, you can change them to enhance the mood of your photo. By tapping and holding on the lighting options, you can toggle between effects like Studio Light, Contour Light, and more. Experimenting with these settings allows you to create dramatic lighting that suits your style.
Pro Tip: Portraits in Photo Mode
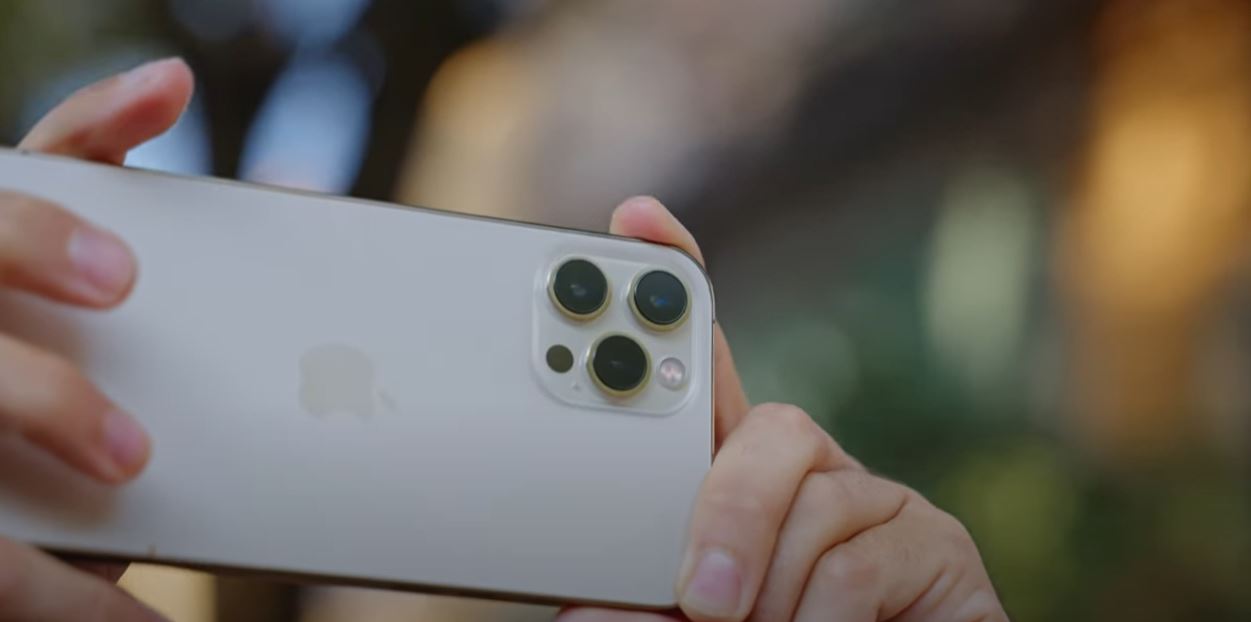
On the iPhone 15 Pro Max, a new feature allows you to shoot portraits directly in Photo Mode without switching to Portrait Mode. As long as the iPhone detects a person, you can activate portrait-style blur right within the Photo Mode by tapping the “F” icon. This gives you more flexibility in capturing portraits without the need to exit Photo Mode.
Conclusion:
By combining soft lighting, the right lens choice, Portrait Mode, and careful post-processing, you can capture professional-level portraits with your iPhone. Avoid overdoing the blur effect in Portrait Mode, and always take the time to experiment with lighting and composition. With these tips and tricks, your iPhone portraits will stand out, showcasing flattering detail, sharp focus, and beautiful background effects.
