Long exposure photography is a stunning technique that can turn a simple shot into an artistic masterpiece. Often used to capture motion, such as flowing waterfalls, moving clouds, or swirling lights, it adds a sense of smoothness and drama to your images. While traditionally requiring complex equipment, modern smartphones like the iPhone have simplified this process, allowing anyone to capture breathtaking long exposure photos with ease.
In this guide, we’ll explore how you can take long exposure shots using just your iPhone. From setting up the perfect shot to turning your Live Photo into a stunning long exposure, we’ll cover everything you need to know to create visually captivating images with your device.
What is Long Exposure Photography?
Long exposure photography involves keeping the camera’s shutter open for a prolonged period, allowing light or movement in a scene to be captured over time. This results in the blurring or smoothing of moving elements while keeping stationary parts sharp. In the past, long exposures were challenging to achieve, requiring tripods, filters, and manual camera settings.
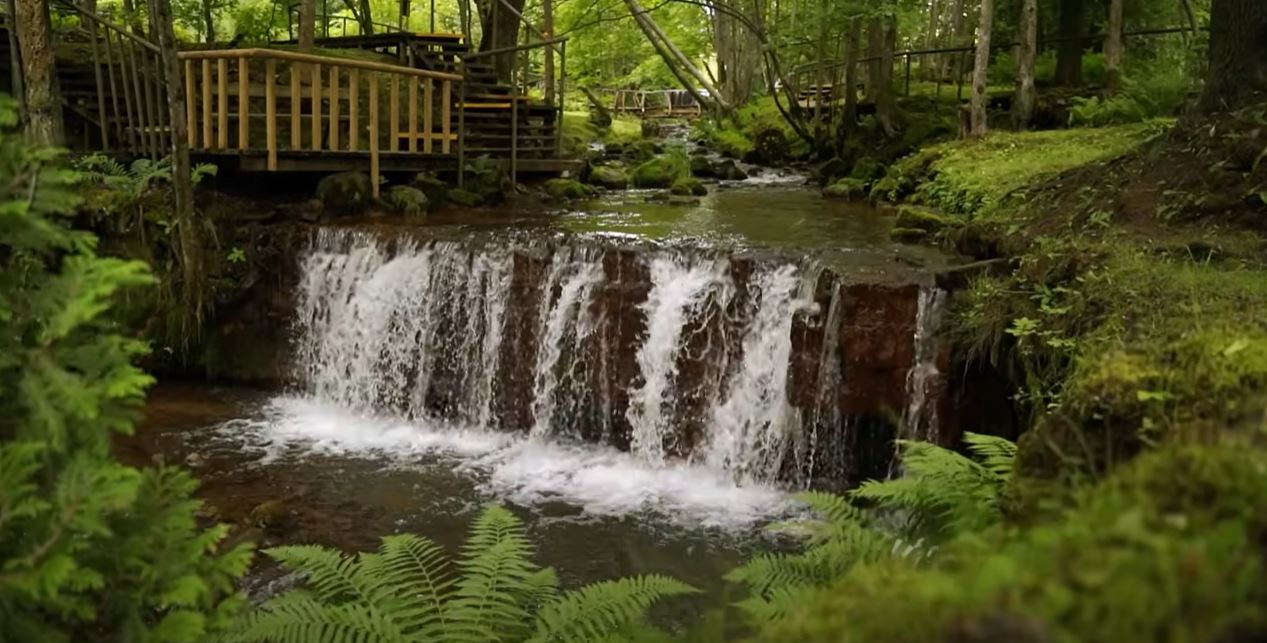
However, with the iPhone, you can easily simulate this effect through Live Photos and a built-in long exposure feature, making it accessible for photographers of all skill levels.
Understanding the Basics: Why Long Exposure Works Well for Certain Subjects
Certain elements in nature and urban environments are ideal for long exposure shots. These include:
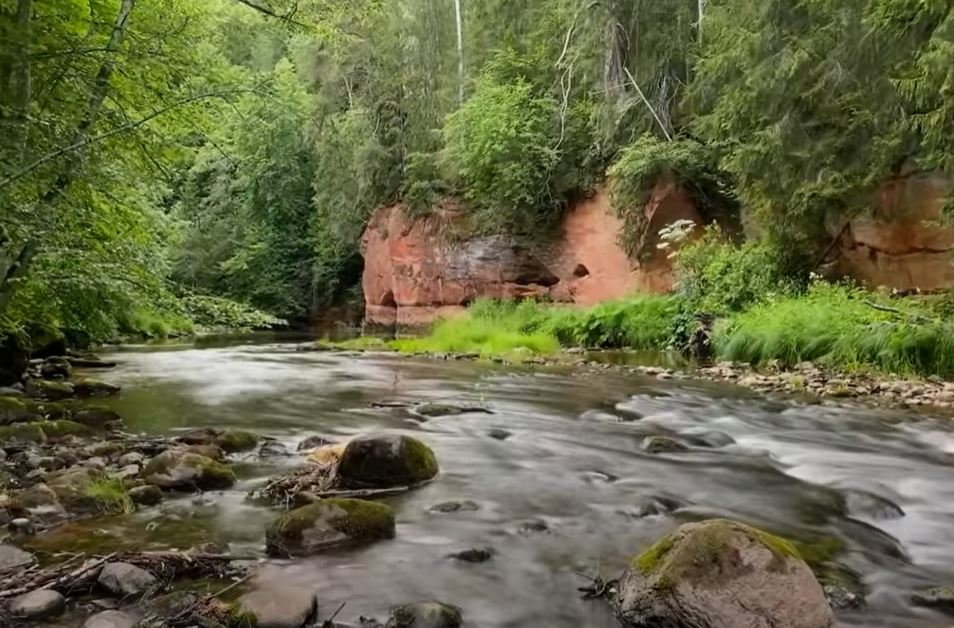
- Water: Waterfalls, rivers, and ocean waves work particularly well for long exposure because they produce soft, flowing motion that looks stunning when blurred.
- Clouds: Capturing moving clouds can create a dreamy, ethereal effect in your skies.
- Light Trails: Moving vehicles, fireflies, or neon signs can leave bright trails that streak across the photo, adding dynamism to your shots.
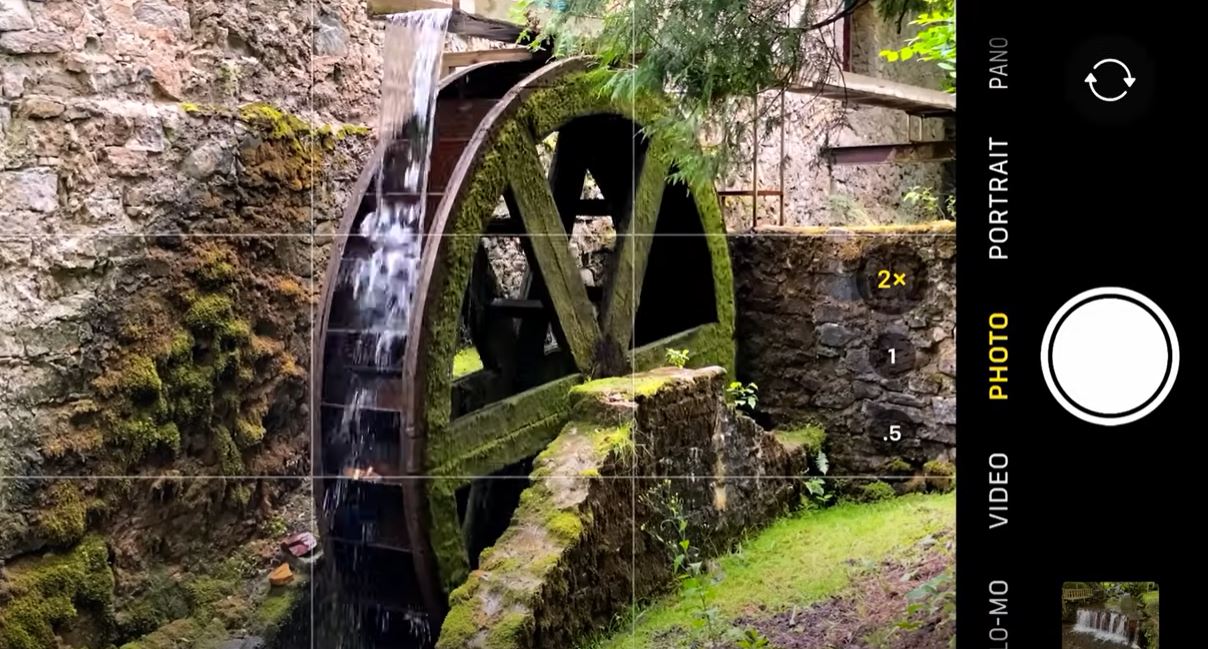
- Wheels and Rotating Objects: Anything that rotates or moves steadily can also benefit from long exposure, blurring the movement and creating striking visuals.
With the iPhone’s simplicity and portability, you no longer need a DSLR and heavy equipment to achieve these stunning effects.
How to Take a Long Exposure Photo on iPhone: Step-by-Step Guide
Step 1: Prepare Your Scene
Before capturing your long exposure, carefully set up the scene. Consider these tips for framing and composition:
- Choose the Right Subject: Waterfalls, rivers, moving clouds, and light trails work best for long exposure. Try to incorporate elements that naturally have movement.
- Orientation: You may want to experiment with horizontal (landscape) versus vertical (portrait) orientation, depending on the scene. For example, if you’re capturing a tall waterfall, a vertical shot might enhance the composition.
- Positioning: Adjust your vantage point. Lower angles can make elements like rivers or waterfalls seem more expansive, while higher angles can create a broader scene. Finding the ideal perspective will help you compose a more visually appealing shot.
Step 2: Turn on Live Photos
To create a long exposure photo, you’ll need to start by capturing a Live Photo. The iPhone’s Live Photo feature captures a few seconds of movement before and after you press the shutter. This is the secret to achieving long exposure effects without a tripod or complicated setup.
- Ensure Live Photos are enabled on your iPhone camera. The Live Photo icon (a circle) will be highlighted yellow or white when active.
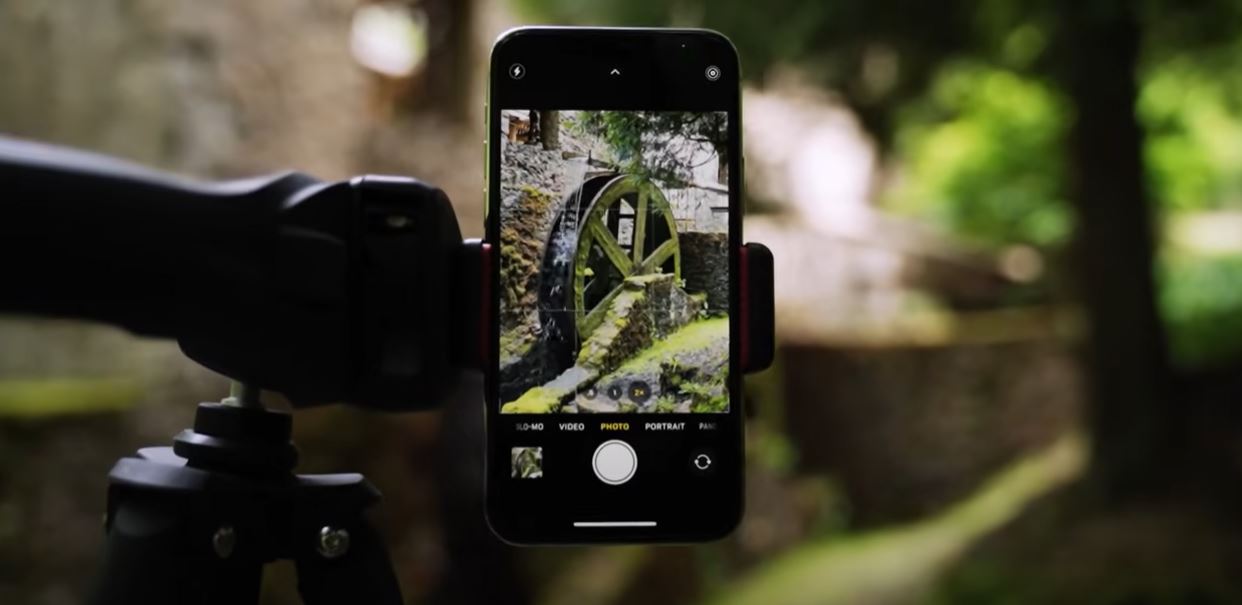
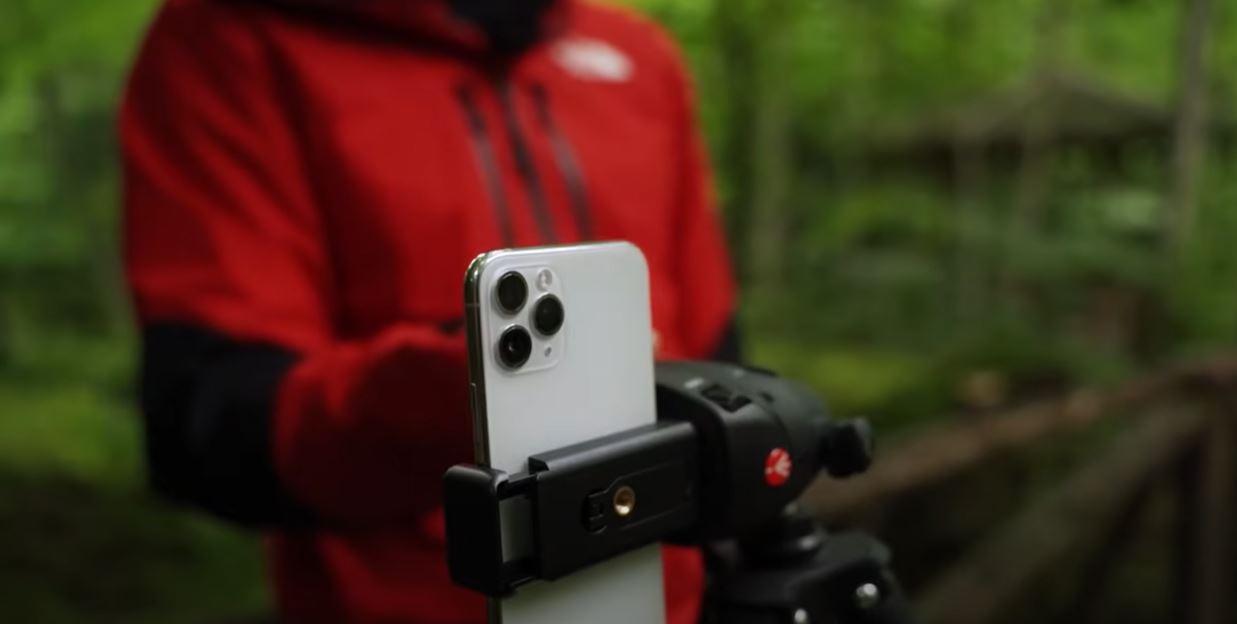
- Hold the Camera Steady: To avoid unwanted blur, ensure your hands are steady. If necessary, use a stable surface or a tripod.
Step 3: Capture the Live Photo
Once you have your composition ready, press the shutter button to capture a Live Photo. Make sure to keep the phone still for a few seconds to ensure you capture enough movement for the long exposure effect.
Step 4: Convert to Long Exposure
After capturing the Live Photo, follow these steps to convert it into a long exposure:
- Open the Photos app and locate the Live Photo.
- Swipe up on the image to reveal the Effects menu.
- Scroll through the options and select Long Exposure. The iPhone will process the Live Photo and combine the frames into a smooth, blurred effect.
The result will show smooth motion blur in areas with movement (like flowing water), creating that signature long exposure look.
Framing Tips for Stunning Long Exposure Shots
Composition is key when taking any photograph, and it’s no different for long exposure photography. Here are some tips to enhance your framing:
- Rule of Thirds: Place your subject (like a waterfall or moving water) off-center to create balance and interest. This technique keeps the photo dynamic and less static.
- Leave Space for Cropping: Keep in mind that when you convert a Live Photo to long exposure, the image will crop slightly. Ensure there’s enough room around the edges to maintain the full composition after conversion.
- Natural Framing: Use natural elements like trees, rocks, or arches to frame your subject, guiding the viewer’s eye toward the focus of the image.
Using Tripods for Extra Stability
While it’s possible to capture great long exposure shots without a tripod, using one can further enhance image sharpness, especially for stationary objects like spinning wheels or lights. A tripod eliminates any small movement caused by holding the iPhone, resulting in a sharper, clearer image.
Alternatives to a Tripod:
If you don’t have a tripod, here are some creative ways to stabilize your phone:
- Use Stable Objects: Lean your iPhone against a rock, tree, or any sturdy surface.
- Use the Timer or Wired Earphones: Set the timer for a 3-second delay, or use wired earphones with volume controls to take the photo without touching the screen.
Advanced Tips for Perfecting Long Exposure on iPhone
- Experiment with Different Settings: Try shooting under different lighting conditions to see how your long exposure images turn out. You may get surprising results in low light or golden hour lighting.
- Capture Motion Beyond Water: Long exposures are not limited to water. Try photographing moving crowds, cars, or animals for unique effects.
- Use Third-Party Apps: If you want more control over your long exposure photos, consider apps like Slow Shutter Cam or Moment Pro Camera that offer additional features and settings.
- Keep Your Lens Clean: Any smudges or dirt on your lens will result in blurry or hazy photos. Make sure your lens is clean before taking your shot.
Common Mistakes to Avoid
- Shaky Hands: Even slight movement can disrupt the long exposure effect, resulting in a blurry image. Use a tripod or find a stable surface to prevent this.
- Improper Framing: Don’t forget that the Live Photo may crop slightly when converted to long exposure. Ensure you leave extra space around the edges to maintain a good composition.
- Too Much Movement: Capturing too much movement, like fast-moving cars or rapidly changing light conditions, might make the long exposure look chaotic. Focus on slower-moving subjects for a smoother effect.
Conclusion: Creating Stunning Long Exposure Photos with Your iPhone
Long exposure photography on the iPhone is an accessible and exciting way to create beautiful, creative images. Whether you’re capturing flowing water, moving clouds, or light trails, the iPhone makes it easy to replicate this professional photography technique without the need for bulky equipment.
By mastering framing, using Live Photos, and experimenting with movement, you can transform everyday scenes into striking visual art. With the tips and steps outlined in this guide, you’ll be well on your way to capturing long exposure photos that are as smooth and breathtaking as those taken with a DSLR camera. Happy shooting!
